Our DIY Farmhouse Table

DIY Farmhouse Table - A Labor Of Love

I have been sending my husband pictures of this type of Farmhouse/Pedestal Table for years, no exaggeration.  I knew what I wanted but in order to get exactly what I wanted I was going to have to pay a pretty hefty price tag.  I hated our glass kitchen table, plus with little kids you can imagine, how often I had to clean said table.    So last year shortly after we moved into our new home, my hubby called me and text me a picture of a table and some chairs that he found at a yard sale.   I was unsure…. I mean really unsure.  It seemed like it was going to be quite the undertaking, and I was not sure that we.. by which I mean he, could pull it off.    Not because I did not think that he was capable, but while working a full time job, it seemed like a lot.  But, the price.. it was so ridiculously cheap that we could not pass it up.  The original owner was selling the table and 4 chairs for $45.00.  The yard sale was around the corner from the house, so he came home, grabbed my Jeep and went back to pick it up.  It lived in the garage for about 4 months before the project actually began.  But, once it did, it moved pretty quickly.

Before The DIY - Farmhouse Table

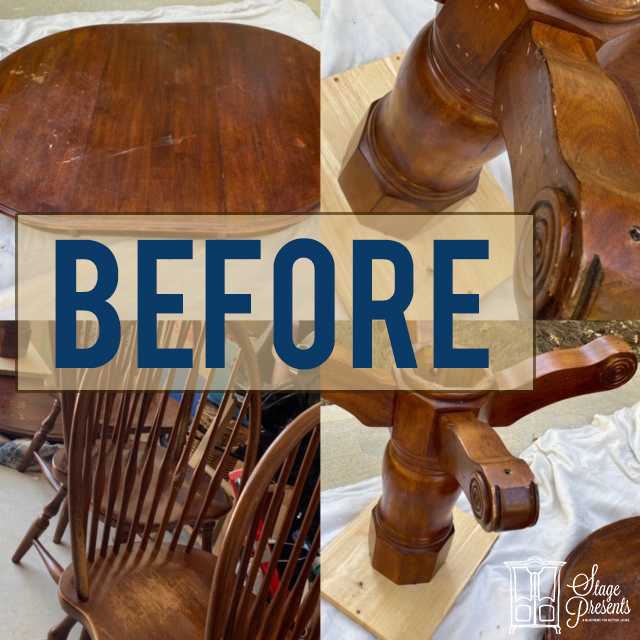
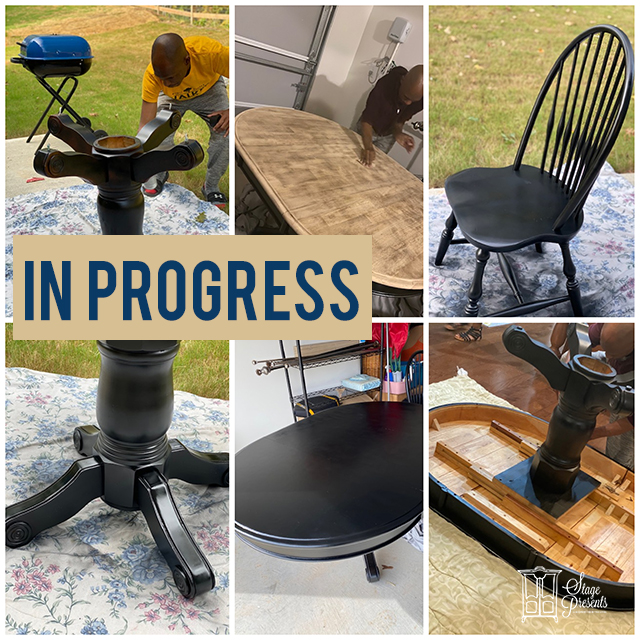
Even though the original color of the wood was beautiful, I knew I wanted to go a different way.  Luckily for us it was real wood, so our options were unlimited.  We could use pretty much whatever we wanted when it came to paint, stain, sandpaper, etc. Initially I was leaning towards a gray stain finish, and we went that way before we decided to course correct and go with black.  I was the photographer on the project.  Hubby did all the hard work, from sanding with the orbital sander, sanding by hand (for the more detailed areas), removing the original stain and then repainting it.  It was a true labor of love.

In Progress DIY - Farmhouse Table

Tools Required:

  • Orbital Sander

Materials:

  • Rust-Oleum Painters Touch 2X ULTRACOVER PAINT + PRIMER Black Satin (I purchased this HERE.)
  • Drop Cloth/Old Blanket Comforter
  • General Purpose Sand Paper (100-medium, 220-finer)
  • Grit & Perseverance & Some Brut Force

Finished Project DIY Farmhouse Table

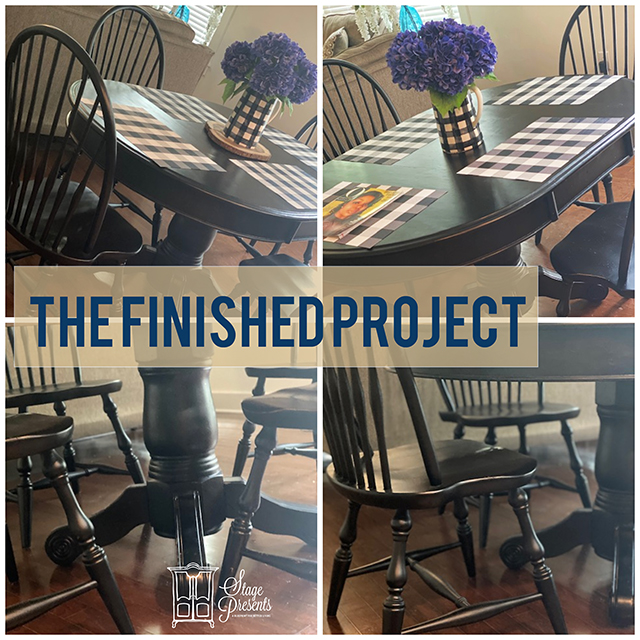
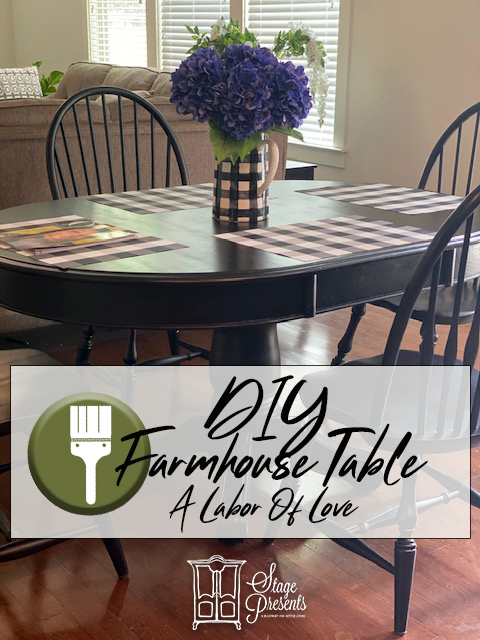
What I love most about the completed project?  THE DETAILS – In the Table Legs, and The Chairs.. And I Just Love How BLACK (Satin) IT IS.  Also, I loved seeing hubby getting his hands dirty.. something about that, does it for me, LOL.  Lastly, I definitely think that the dark color gives the room a more formal feel, while complimenting the marble on the island and counter tops in the kitchen.

Each morning when I come downstairs, and walk into the Kitchen to start my coffee, it’s the first thing I see and that makes me happy.  Special Thanks to my hubby for a job well done!!

Laundry Room Reset

Laundry Room Reset

I chose to call this a Laundry Room Reset, because there really wasn’t that much to be done.   This month makes a year since we moved into this house, so I thought it would make sense to start working on those spaces that remained untouched.

Like most Moms  I spend a good amount of time in the laundry room, so I guess I thought I could trick my mind into enjoying it more, if  I used Spa Like Colors. ( I will have to get back to you on whether or not that worked.)  I chose my go to’s colors Grey and Teal.  I was able to find these curved Y-Weave XL baskets at Target.  And I used my growing Photo Shop Skills to  create chalkboard labels for the room.  If you like them, be sure to follow the Link Down Below, to get some of your own.

Laundry Baskets With Chalkboard Labels

The basket pictured in this picture and the one above was literally about the fourth basket I picked for this space.  Since I am vertically challenged and can’t actually reach the shelves without my Step Stool.  I wanted a little basket that was both decorative and could hold Laundry Detergent, OxiClean and Dryer Sheets, without showing what was inside.

Close Up On Laundry Room Baskets

My oldest daughter and I are the only ones that have hampers in the Laundry Room.  So I thought I would find some matching hampers to keep the room uniform.  I was able to grab these online from Bed Bath and Beyond.

Laundry Room - Matching Hampers

There’s so much out there these days in the form of Laundry Wall Art, especially if you are an “Etsy head” like me.  It was not an easy choice for me to make, especially because I kept gravitating to items that were outside of the budget that I had set up for myself.  I had a general idea of what I wanted but , I was willing to be pretty flexible and then I found this Fluff and Fold Piece at Target.  They had it in stock, quick shipping turn around and the Mr. was mounting it on the wall before I knew it. Laundry Room Reset Fluff and Fold Wall Art

After I had completed the room, I still felt like there was a lot of empty open space.  I wanted to do something to dress the room up without taking away from the open airy feel.  So after pouring over all the Pinterest Laundry Room Inspiration I could find, I decided to add clothespins.  I still had a few Half Gallon Mason Jars left from the Pantry, so I grabbed them and added the clothespins and Voila!!  There actually still is a lot of empty space in this room, but hubby told me to embrace it.  So the room is complete, FULL STOP, lol.

Laundry Room Reset - Clothespin Decor

Grab Your Free Laundry Room Chalkboard Labels Here.   Right – Click -Save- Print.