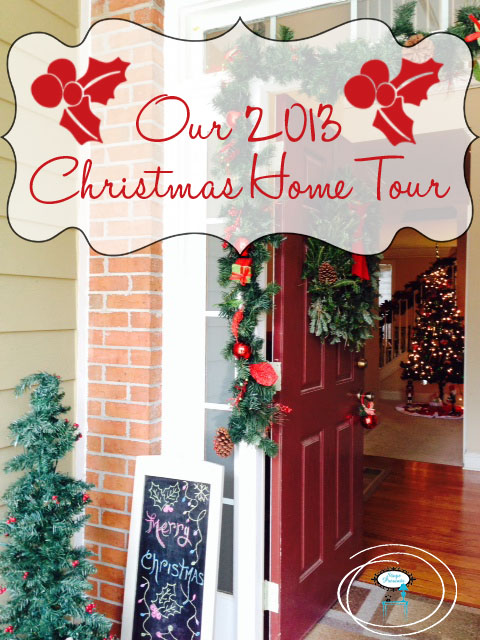
I got this idea of a Home Tour from seeing so many other amazing Holiday Spaces featured across several blogs. And, let’s face it, a picture is worth a thousand words.
For as long as I can remember, Christmas has been my favorite holiday. Being surrounded by family, the sights and smells, they have all played a part in memories that I hold dear to my heart.
It’s one of the reasons why I literally throw myself every year into “Decking The Halls”, for my family, the way my mom did for my sister and I. And the way her Mom did for her.
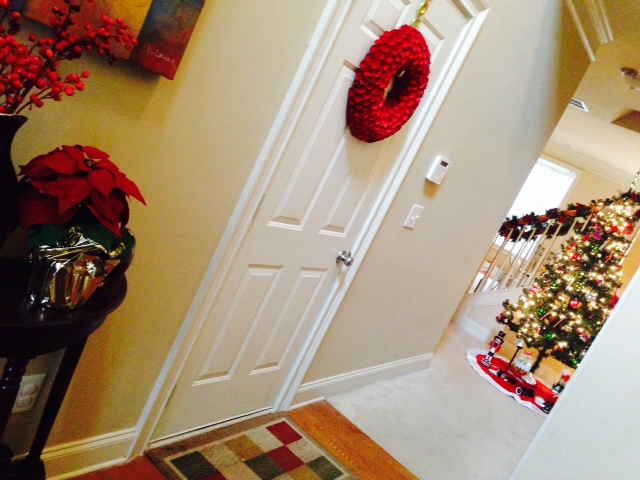
This is our second year having two trees. The Family Room/Foyer Tree has all the ornaments that the kids have made through the years, our keepsake ornaments, and the traditional Christmas Colors. It is the first thing you see when you walk through the front door of our home.
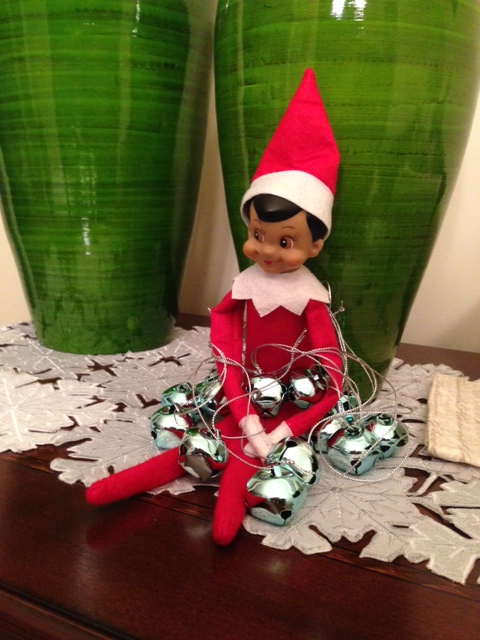
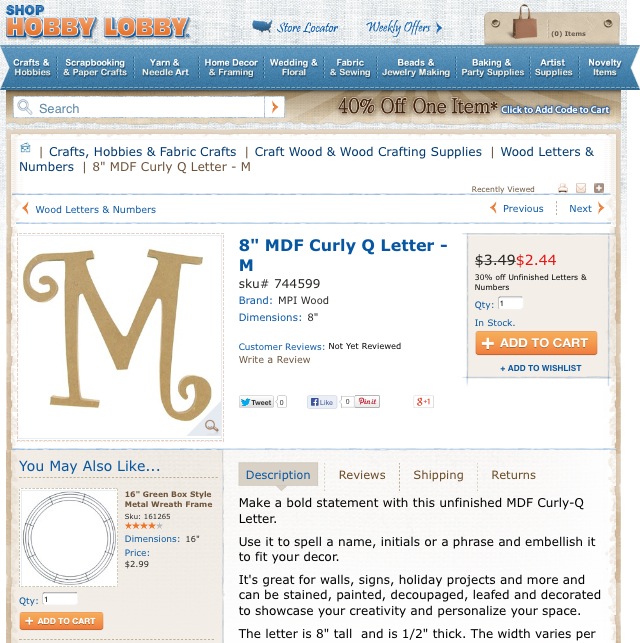
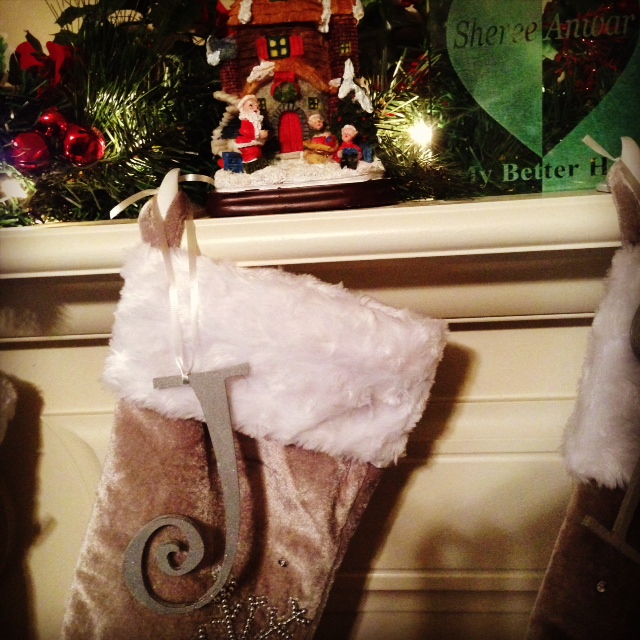
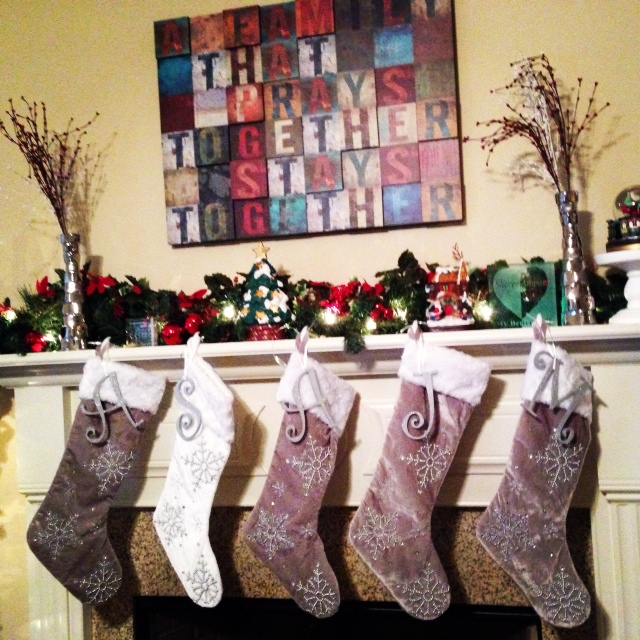
This hallway takes you into our Family Room, where we decorated our fireplace/mantel with our Luxe Stockings and DIY Scripted Glitter Letters.
Our Formal Living Room and Dining Room flow into each other and house our 8 ft. Douglas Fir. This year we went with the accent color of purple and I had a ball “marrying” the two rooms.
Needless to say, at this time of year, I am in my element.
So from Our Stage Presents Family to yours, Have a Happy and Safe Holiday Season!! I hope you enjoyed our home, as much as we enjoyed sharing it!!