As a child growing up in the North, fall has always been associated with the changing of the leaves, the crisp morning air, trips to the Pumpkin Patch and Apple Picking. As an adult, I find myself gravitating to those smells at this time of the year.
Looking for the Apple Cinnamon smell in candles and air fresheners and placing cinnamon brooms all over the house, and even indulging in a little baking here and there.
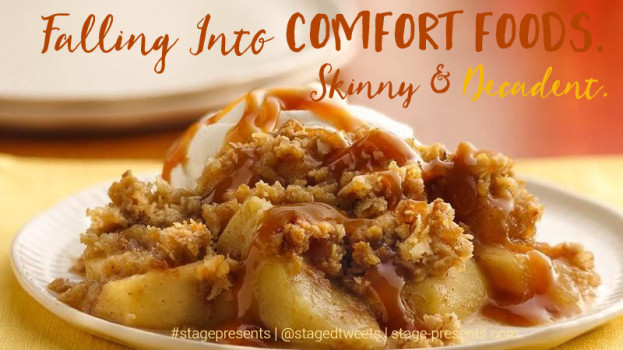
Here are two recipes for a Great Fall Dessert I like, one is a little less indulgent, though just as tasty and the other is just downright decadent.
Skinny Cinnamon Apple Crisp
Recipe Found Here
Servings: 8 • Serving Size: 1/8th • Old Points: 5 pts • Points+: 7 pts
Calories: 242.0 • Fat: 6.8 g • Protein: 2.3 g • Carb: 49.5 g • Fiber: 4.5 g • Sugar: 32.3 g
Sodium: 10.1
For the Filling:
- 5 medium apples, peeled and diced
- 1.5 oz raisins (small box)
- 1/2 tsp cinnamon
- 1/2 lemon, juiced
- 3 tsp cornstarch
- 1/4 cup agave nectar
For the Topping:
- 1 cup Quaker quick rolled oats
- 1/3 cup whole wheat flour
- 1/2 cup light brown sugar (not packed)
- 1 tsp cinnamon
- 1/4 cup (half stick) butter, melted
Directions:
Heat oven to 375 degrees. Combine apples, raisins, cinnamon, agave nectar and lemon juice in large bowl. Sprinkle with cornstarch. Toss until fruit is coated. Place fruit in an ungreased baking dish.
Mix remaining ingredients. Sprinkle over fruit. Bake about 40 minutes or until topping is golden brown and fruit is tender.
Serve with a scoop of low fat ice cream or fat free frozen yogurt. Enjoy!!
Now for our more Decadent Recipe –
Easy Apple Crisp with Oatmeal Streusel Found Here
Difficulty: Easy | Total Time: | Makes: 8 servings
When you don’t have time to roll out the dough for an apple pie, a crisp is the next best thing. Just peel, core, and slice the apples; toss them with a bit of sugar and cinnamon; and dump them into a baking dish. Then mix the oats, brown sugar, and butter for the streusel in the same bowl you used for mixing the apples, which saves you a dish to wash. Sprinkle the streusel over the apples, and in about an hour you’ll have an easy dessert of bubbling apples blanketed with a crunchy, sweet topping.
Game plan: Adjust the sugar in this recipe to the sweetness of the apples, using 2 tablespoons for exceptionally sweet ones and 3 if the apples are on the tart side.
- 2 1/2 pounds medium Granny Smith and Golden Delicious apples (about 5 or 6), peeled, cored, and sliced 1/4 inch thick
- 2 to 3 tablespoons granulated sugar
- 3/4 teaspoon ground cinnamon
- 1/4 teaspoon fine salt
- 1/2 cup packed light brown sugar
- 1/2 cup uncooked rolled oats
- 1/3 cup all-purpose flour
- 4 tablespoons cold unsalted butter (1/2 stick), cut into small pieces, plus more for coating the dish
- Heat the oven to 350°F and arrange a rack in the middle. Lightly coat an 8-by-8-inch baking dish with butter.
- Combine the apples, granulated sugar, cinnamon, and 1/8 teaspoon of the salt in a large bowl and toss to coat. Place the apple mixture in the prepared baking dish and set aside.
- Using the same bowl as for mixing the apples, mix together the brown sugar, oats, flour, and remaining 1/8 teaspoon salt until evenly combined. With your fingertips, blend in the butter pieces until small clumps form and the butter is well incorporated, about 2 minutes.
- Sprinkle the topping evenly over the apples and bake until the streusel is crispy and the apples are tender, about 50 to 60 minutes. Let cool on a rack at least 30 minutes before serving.
Follow the link above for Beverage Pairing Ideas. And, if you happen to try either of these recipes be sure to let me know which one you love.
Is Christmas Magic as Important to you as it is to your Kids?
I have always felt strongly about preserving the innocence of children, for as long as possible. Through their eyes, I have remembered what it is like to be a kid and have even been able to relive some of my own childhood memories. So, I try to pack as much magic into my children’s lives as I can. They have so many years ahead of them to deal with the harsh realities of life. I try to hold on to that little bit of Magic, for as long as I can. If you agree with me, this post is for you, follow the links below and start creating amazing Christmas Memories!!
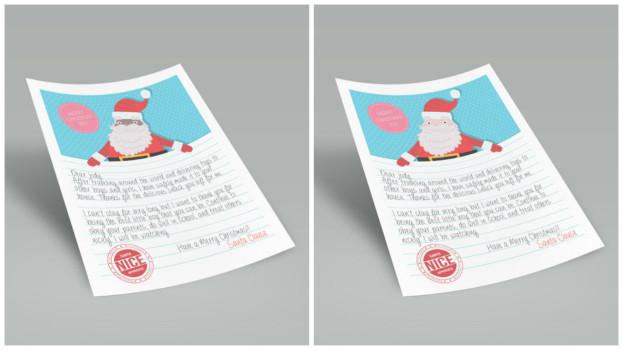
Do You Want your Child to Receive A Letter from Santa – Click Here!!
Countdown the Day’s Until Santa’s Arrival with this Free Printable
Head Over to Our Stage Present’s Etsy Shop for a Personal Lesson from Santa.
Free Downloadable Christmas Gift Tags at Design Editor
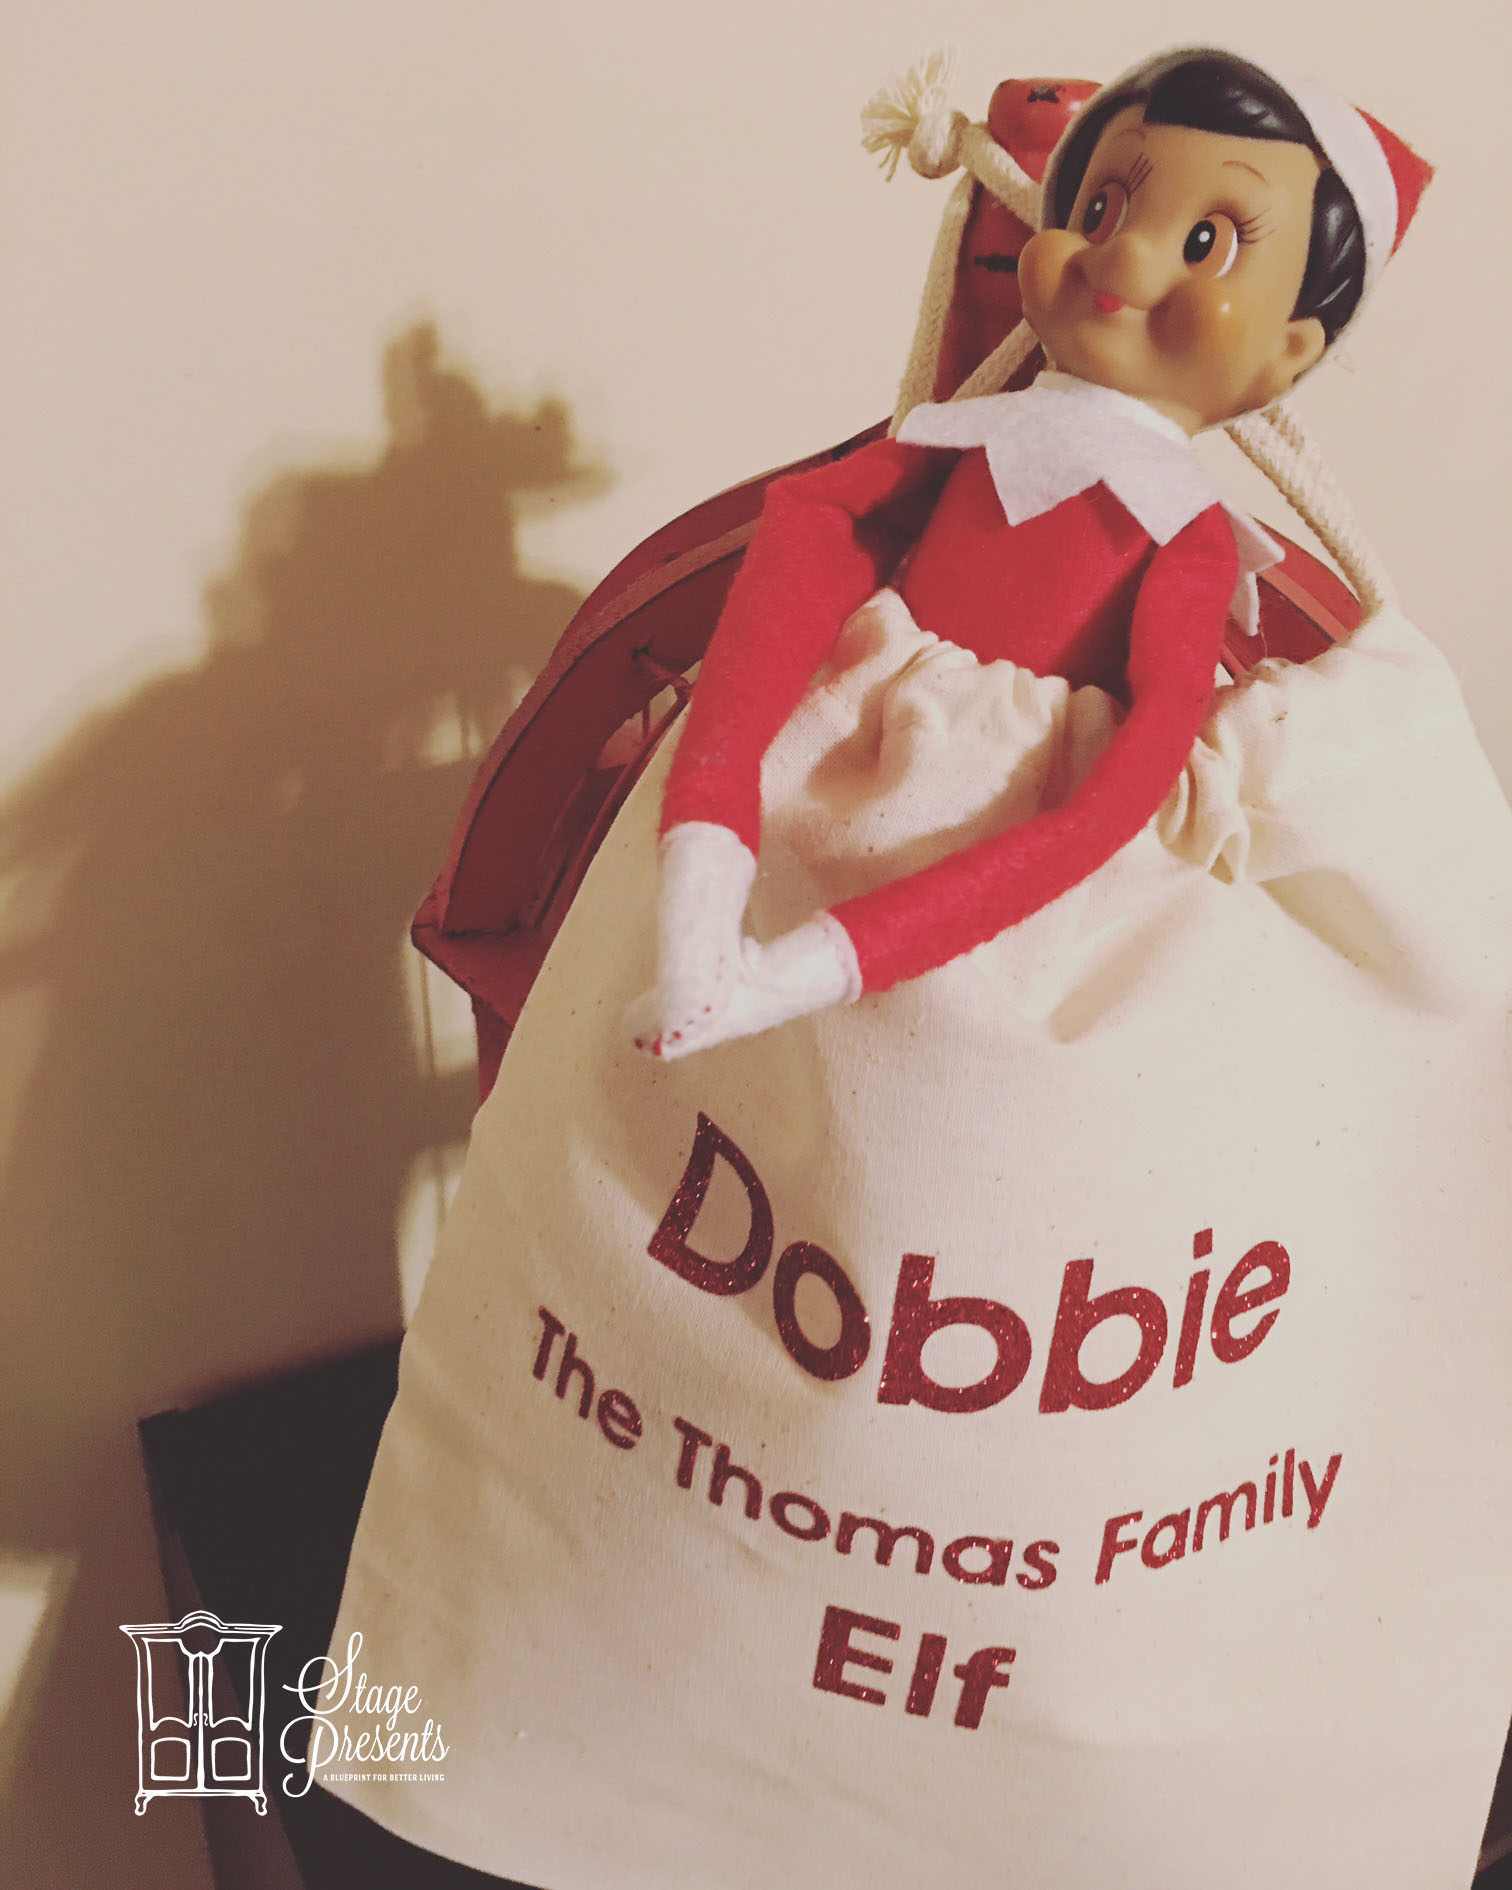
Getting ready for Elf Return Week. Our Family Christmas Elf, made his debut on Saturday Morning.

Looking for ideas for #ScoutElfReturnWeek — Check these out on the Elf on the Shelf Website.
Stay tuned for.. for more MAGIC!!
This post has been updated. 11/28
My First Thanksgiving Turkey!!
A couple of years ago, I made my first turkey. I was soo nervous, I was even dreaming about the turkey. What if it didn’t turn out right, what if it was too dry, etc. etc.? But, it turned out great, and I am a big fan of “IF IT AINT BROKE, DON’T FIX IT”. So here is the tried and true recipe I found here for a Yummy Juicy Turkey!!
Roasting Tips for a Moist and Tasty Turkey
There are many methods used to cook a moist and tasty Roasted Turkey. Most methods rely on basting. The turkey can be basted every 30 minutes with a basting bulb, or covered with cheesecloth soaked in butter. Other methods include brining the turkey (soaking in a salt water solution for 8-10 hours), or injecting a basting solution into the meat. Whatever method you prefer, proper roasting is key to tender moist meat.
** Personal Note: As my basting sauce, I used one stick of butter, rosemary, cracked black pepper, chicken broth, sage, and thyme.
Completely thaw the turkey. Start early and thaw the turkey in the refrigerator or in a place where the air temperature is no higher than 40 degrees. A 20-pound turkey takes about two or three days to thaw completely. Be sure the turkey is thawed completely, until no ice appears in the inner cavity and the meat is soft. Be careful: If the inner cavity is still frozen or even partially frozen when you put the turkey in the oven, the outside of the bird will be done before the inside, and the inside temperature will not be hot enough to destroy disease causing bacteria, or if it is, the outside meat will be dried out before the center is done.
Prepare the stuffing. If you are preparing the stuffing early, mix only the dry ingredients. It is recommended that you cook the stuffing separately, but if you do stuff the turkey, do not stuff it until you are ready to roast it. Stuff the cavity loosely. Do not pack it. If you choose to cook the stuffing separately, you can place a quartered onion and some celery leave and other desired herbs in the cavity for flavor.
Prepare a basting sauce. I prefer to baste with melted butter to which I add fresh or dried herbs. You can also baste with a mixture of wine and butter. Baste the turkey with your sauce and place a loose tent of aluminum foil over the turkey to prevent the skin from burning before the turkey is cooked. This tent will be removed during the last 45 minutes or so of cooking. If you are using cheesecloth, soak the cheesecloth with the basting sauce and place over the breast and drape onto the thighs. When using cheesecloth, you do not need the foil tent. Baste the turkey every 30 minutes during roasting.
Roast your turkey at 325 degrees for the recommended time for the weight of your turkey. These times are approximate and should be confirmed with a meat thermometer. Be sure to check the thermometer about 3/4th of the way through the time indicated so as not to overcook. Dry meat will result if the turkey is overcooked. The following table gives approximate times for roasting turkey at 325 degrees F.
Estimated Cooking Times
Wt. of Turkey Unstuffed Stuffed
10-18 lbs 3- 3 1/2 hrs. 4 – 4 1/2 hrs
18-22 lbs 3 1/2 – 4 hrs 4 1/2 – 5 hrs.
22-24 lbs 4- 4 1/2 hrs 5 – 5 1/2 hrs
24-29 lbs 4 1/2- 5 hrs 5 1/2 – 6 1/2 hrs
The turkey must be roasted all at once. You cannot partially cook it ahead for later finishing. This method has been shown to increase the chances of food borne illnesses.
For safety and doneness the internal temperature must reach 180 degrees F in the thigh and 170 in the center of the breast. If the turkey is stuffed, the stuffing should reach 165 degrees F in the cavity. This temperature is essential to prevent food borne disease, and should be measured with a meat thermometer. The pop-up thermometer that comes in many turkeys serves as a good approximate of doneness, but should not be relied on as the ultimate authority. When placing the meat thermometer in the thigh or breast, it is important not to touch the bone. The bone conducts heat and will be hotter than the meat. Do not allow the cooked meat to come into contact with anything that has touched the raw turkey.
During the last 30 – 45 minutes of cooking, remove the foil tent to encourage browning. If you desire to use a glaze, spread it over the turkey now with a pastry brush.
Pulling off your first Holiday Meal, is a right of passage. It can definitely be stressful, but it can also be very fulfilling. Good Luck!!


