post

Trick or Treat — Working our Way Down the Fall Craft Bucket List!!

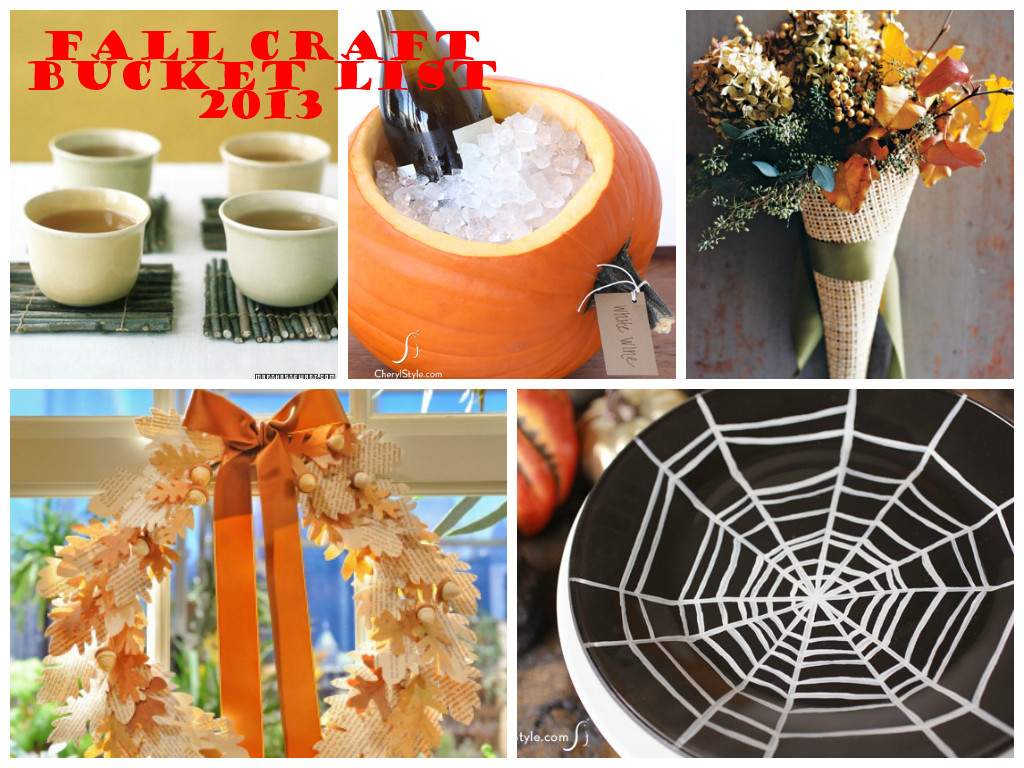
Fall Craft BucketAbove – Remember our Fall Bucket List!!

Below – Here are the Items we Actually Ended up Making — Of Course, Fall Is Not Over Yet!!

image_1 (3)

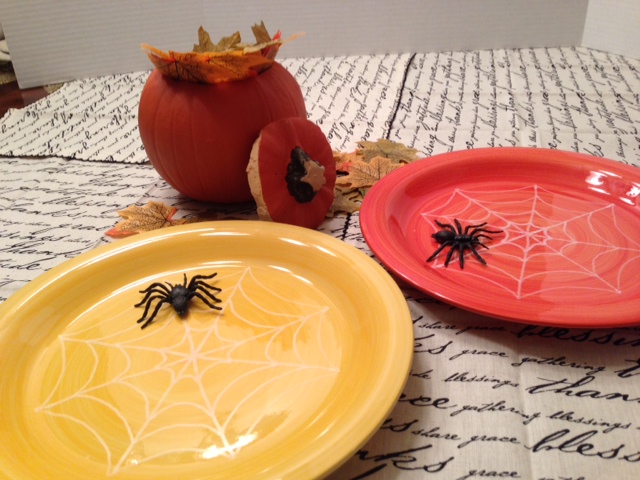
The Spider Web Plate was very easy.  I found these festive colored ceramic plates at Publix.  We Used White Painters® Paint Markers to recreate the Spider Web on the Plate, and waited for it to dry then added 3D Spiders to complete the look.

I like most folks this year, got caught up in the Fun-Kin Hype, and bought a Fun-Kin Carvable Pumpkin (top right of the above picture).  It seemed like it would be so much easier to carve than a real pumpkin.  But, I wasn’t impressed.  I did notice that they have Fun-Kin Knives and maybe it would have been easier, if I had used one of those.  But, I didn’t buy one.  So instead, we used a Regular Carving Knife.  I intended to use it as a candy or candle holder.  But, didn’t love either look, so I decided to just use it as part of our Decorations.

Last, but not least, was our Halloween Welcome Chalkboard.  I truly had fun creating this, even if I am no Picasso.  I think it is the perfect finishing touch to our Fall/Halloween Decor.

image (1)


image (2)

Happy Halloween from your Stage Presents Family!!

Fresh Herbs and Tomatoes…

Every Spring, I have these grand ideas about all the great things I will plant and harvest.  But, it seems like each year, I grow less and less.  This year, I grew tomatoes and Basil and unfortunately, that was it.

Fotor01019143510

But, as it starts to get cooler outside, I have been thinking about what I can do to preserve my basil.  I have gotten spoiled and there is just nothing like having fresh basil in your meals, even if I am the only one who really appreciates it.

Here are some different methods to preserve your herbs:

How to Dry and Store Herbs

9 Ways to Dry Herbs

And, if you have more tomatoes than you know what to do with.  Consider making your own Tomato Sauce or Canning?

How to Make Your Own Tomato Sauce?

How to Can Tomatoes

Happy Harvesting!!


Fall Into Comfort Food — All Over the Web…

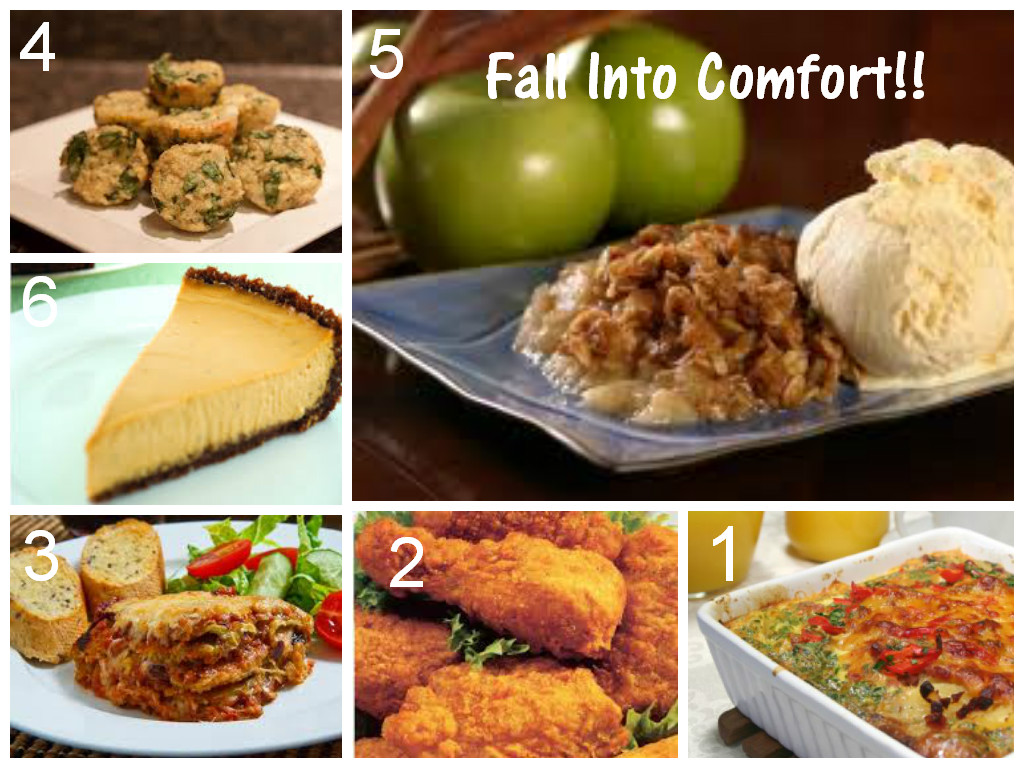
It’s getting chilly out there!!  Here are some great recipes I found all over the web!!

Fotor01018192913

I have tried the Breakfast Casserole, as well as the Oven Fried Chicken.  Both yummy!!

Breakfast:

Crockpot Breakfast Casserole

Entrees:

Oven Fried Chicken

Eggplant Parmesan

Finger Food:

Parmesan Spinach Bites

Dessert

Easy Apple Crisp

Pumpkin Cheesecake in a Gingersnap Crust – ** I plan to try my hand at this tomorrow.

Road “Tripping” with Kids

Recently my family of four packed into our SUV for a 7 hour trip to Orlando. I have had several people ask me how I did it.  I’m not always sure how to answer that question. Since (a) They are too young to stay home alone (b) Gas vs. (4) Plane Tickets is not really a comparison (c) We do what we have to do.  That being said, if the destination is not somewhere I really really want to go (as was the case this trip), I would most likely opt to stay home.

images

All that aside,  just like everything else I have a process.

1.  Plan Plan Plan – which for me translates to list list list.  Which brings me back to Springpad (A SP Fave App).  I have a running list of what each member of the family needs for trips, this way I don’t have to constantly recreate the wheel.  I pull up that list.  Add or Delete depending on the length of the trip, conditions, etc.  Then print each list and use it to pack and prepare.

image

2. Matter – Things that Matter – when traveling with little ones you need stuff.  Toys, Books, Crayons, Markers, DVD’s, Pillows Blankets, Tablets, iPads, Mobile Hot Spots, etc etc.   Even if you pack what you think is an arsenal, at some point be aware that the novelty of all these items new or old will wear off.  And, if you have children like mine you will have to deal with some bickering, whining and maybe even some tears.  Disclaimer: My little ones are 8 and 3.

3.  Bathroom Prep – I so love this subject, NOT!!  Let’s face it Public Bathrooms generally SUCK. Hubby and I have talked about creating an App just for this very reason.  But, since I have yet to find it, if its a route you have traveled before make note of the cleaner more pleasant bathroom stops.  And, then BE PREPARED.   I always travel with Lysol, Wet Wipes, Toilet Tissue, Paper Towels and Garbage Bags.  I wanna add gloves but, I don’t want you all to think I am OCD!!  Even if I am, a little.

4.  Snacks and Drinks – Last. but not least, because this is the most important part, sometimes the only way to get some silence is to put food in their mouths.  Think ahead, try to get the snacks that will create the least amount of mayhem and mess.  Use your own discretion,  I go for Individually packaged snacks, snacks lower in sugar, drinks lower in sugar, and smaller fluid oz, so as to avoid several bathroom stops.

It is by no means, the Road Trips of yesteryear with your girlfriends.  But, even through the tears, you are making memories just the same.

It’s that time again…

The end of the year always brings out the “Susie Homemaker” in me.  With the crisp weather, out comes the Fall Wreaths, Cinnamon Brooms, and Pumpkins, and this year the owls. It’s as if the change in the temperature deepens my desire to make my house warm and inviting for my family.

I am always looking for new seasonal craft projects to do with the kids, and to do alone(even though my hubby swears that all my alone projects, somehow include him). And, as my own special requirement, I am always try to look for things that I don’t see everyone else doing.

So here’s my bucket list, over the next couple of weeks, I will be sharing the final results.  I should warn you that I almost always put my own spin on the original ideas.

Fall Craft Bucket

Craft ideas found here and here.

Do you have any special projects that you are working feel free to link to your blog in the comments section below?  Anything that you would like to see us try?

My Sister’s Baby Shower : A Labor of Love!!

It’s no secret that I love entertaining (a trait, I know I got from my Mommy).  This party was no different, except that it was EXTRA SPECIAL because it was for my “not so little baby sister”.

sisters-are-the-perfect-bestfriend-love-friendship-quotes-sayings-pics-images-poem

They say your sister is your very first friend, and in my case my very best friend.  So, I was over the moon knowing that soon we would be able to share the joys of motherhood, and to learn I was gonna be an Auntie to her twin girls.  Making this party and this day extra special was all that I could think about for months.

I eventually decided that I would go with a Noah’s Ark theme because she was having twins.  But, I couldn’t help but include some of my favorite colors and threw in some polka dots and chevron prints too.

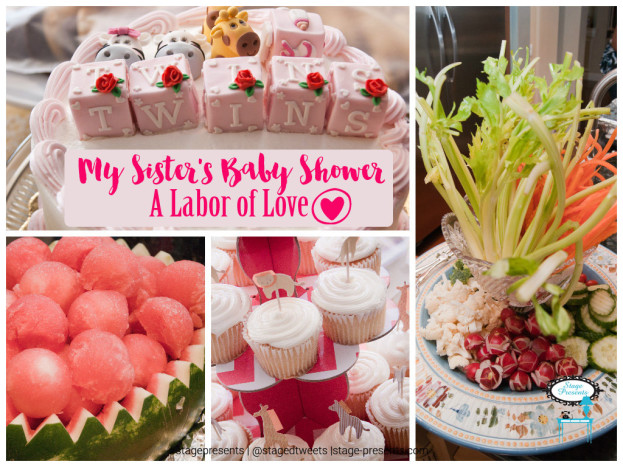
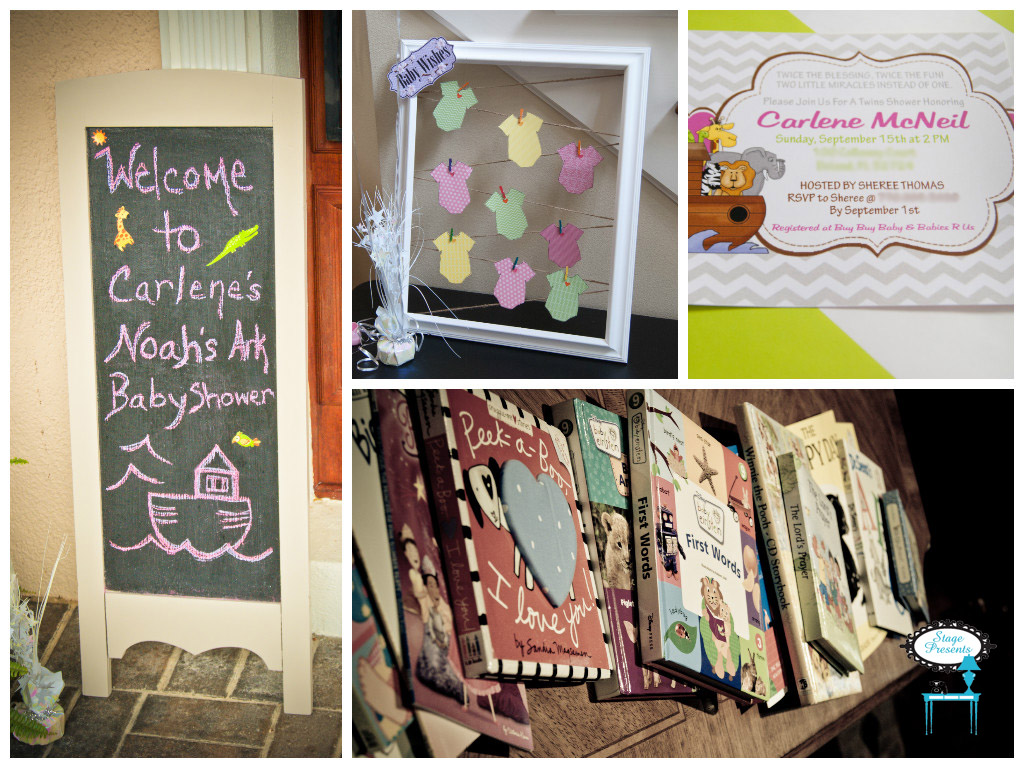
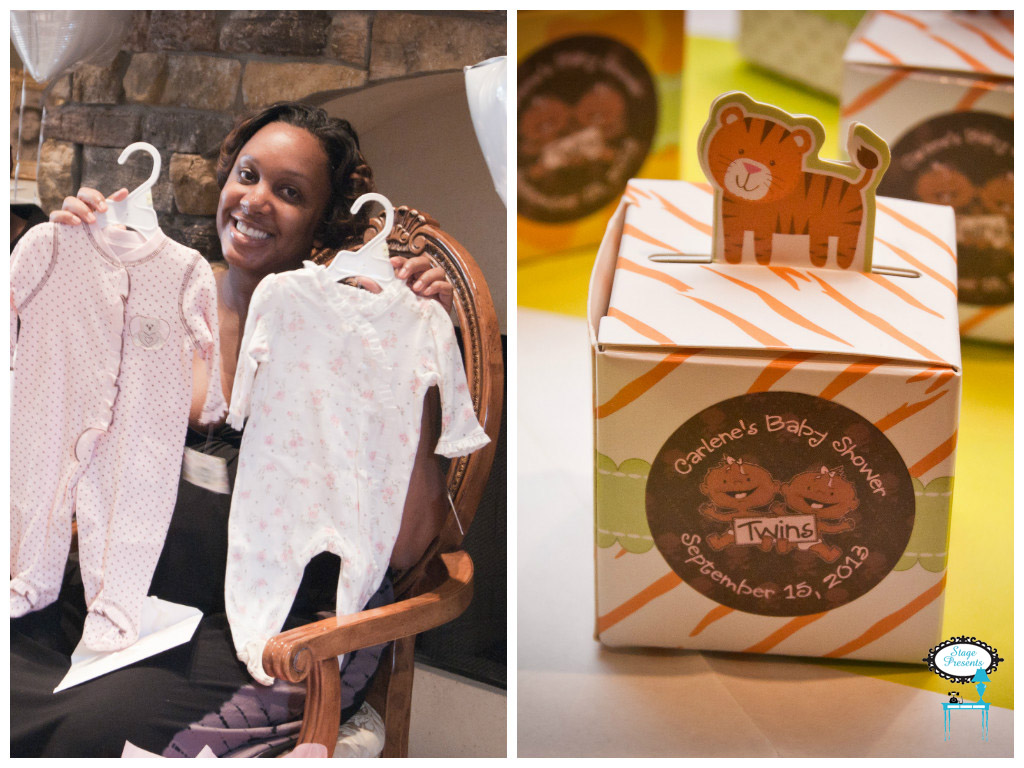
Here Is A Glimpse Into My Sister’s Pink and Green Noah’s Ark Twin Baby Shower.

My Sister's Pink and Green Noah's Ark Baby Shower for Twins

My Sister's Pink and Green Noah's Ark Baby Shower for Twins

My Sister's Pink and Green Noah's Ark Baby Shower for Twins

Favorite Features:

  • Pink and Green Chevron Table Runners and Cupcake Stands
  • The Mommy Cake – Small Round Cake with White Icing and Pink Piping by Publix
  • Edible Baby Building Block Cake Toppers and Noah’s Ark Animal Cake Toppers (Fondant) – Like Butter Etsy Shop
  • Pink and Green Polka Dot Napkins shaped to look like Napkin Flower Displays
  • Baby Animals 3D Favor Boxes – Beaucoup
  • Personalized Twins Labels – Big Dot of Happiness
  • Onesie Wish Board – Handmade by Stage Presents
  • Welcome Chalkboard – Handmade by Stage Presents
  • Library Books in place of Greeting Cards for the Twin’s Nursery

Credits:

– Styling: Sheree Thomas of Stage Presents
– Photography: Anwar Thomas Photography
– Venue: The Hindsman Estate
– Invitations: Anwar Thomas Photography
– Desserts: Publix

Where is super nanny when I need her?

I recently joined a Comment Challenge through Blogelina.  It gave me an opportunity to network with other bloggers, and read some blogs that I probably would not have had access to otherwise.  This was an amazing experience.  It reminded me about what I loved about blogging in the first place the opportunity to be speak honestly and simply to get your truth out there.  I think it also gave me permission to share.  Now, they’ve done it!!

I am firmly in the middle of the terrible two’s.  I think most people get a break from the terrible two’s when their little ones go to sleep, but not me.  No matter where she starts out, she will undoubtedly end up in our bed.  Where she kicks me in the back, puts her cold hands and feet on me, and generally just disturbs my sleep.  Putting her back in her bed after she is asleep may or may not work, but either way.  My sleep is not restful.

Today, we went to Home Goods, because I was in dire need of some retail therapy.  I had prepped her for about an hour on where we were going, that she would sit in the cart, and be a big girl for Mommy.  She even seemed stoked to go.   Fast forward to getting to the store.  First, she wanted to sit in the front of the cart, and then the back of the cart, and then she wanted to walk and then she wanted to be picked up.  Mind you this is all taking place while  going down the first two aisles.  She pitched such a fit that I took her by the hand, walked out the store, and drove the twenty minutes back home.

I said all this to say…  HELP!!  My eight year old kind of skipped the terrible two’s and my son who is now 16 years old.  Well, his terrible two’s were a long time ago.  How did you manage the terrible two’s?  I see lots of time outs in this little one’s future.


Is Christmas Magic as Important to you as it is to your Kids?

I have always felt strongly about preserving the innocence of children, for as long as possible. Through their eyes, I have remembered what it is like to be a kid and have even been able to relive some of my own childhood memories.  So, I try to pack as much magic into my children’s lives as I can.  They have so many years ahead of them to deal with the harsh realities of life. I try to hold on to that little bit of Magic, for as long as I can.   If you agree with me, this post is for you, follow the links below and start creating amazing Christmas Memories!!

Christmas Magic

Do You Want your Child to Receive A Letter from Santa – Click Here!!

Photo Source: USPS

Photo Source: USPS

Countdown the Day’s Until Santa’s Arrival with this Free Printable

Link and Photo Source courtesy of invitingprintables.blogspot.com

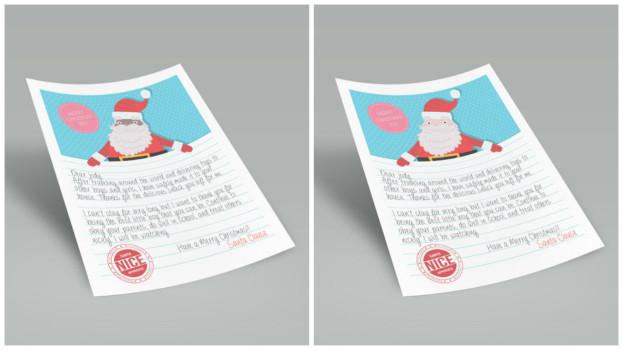
Head Over to Our Stage Present’s Etsy Shop for a Personal Lesson from Santa.

Personalized Letters from Santa found in Etsy Shop stagedpresents

Personalized Letters from Santa found in Etsy Shop stagedpresents

Free Downloadable Christmas Gift Tags at Design Editor

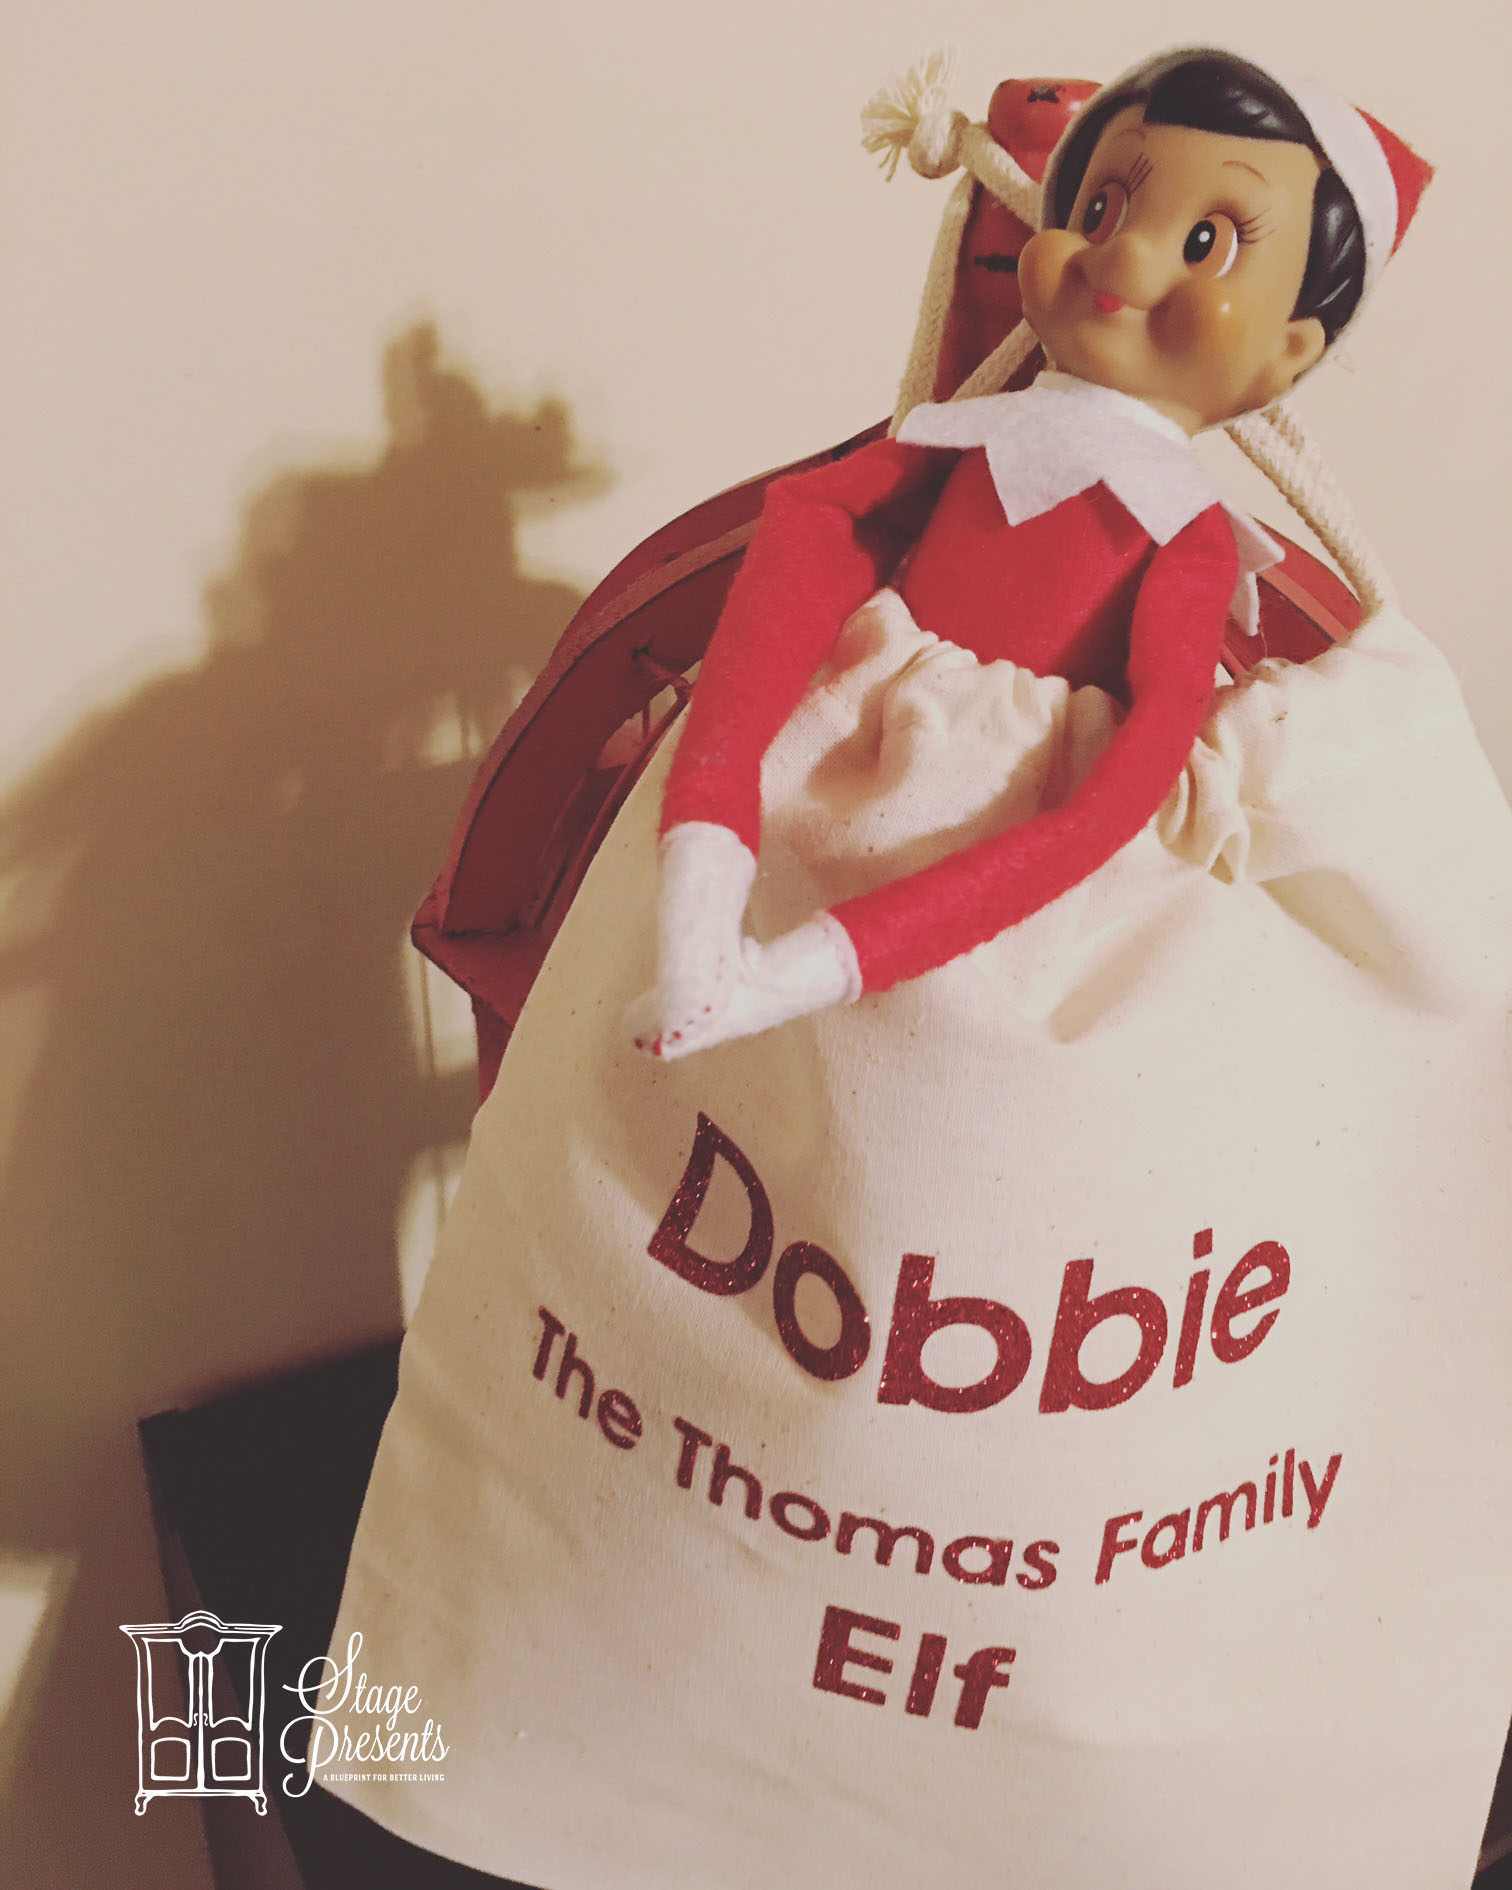
Getting ready for Elf Return Week.   Our Family Christmas Elf, made his debut on Saturday Morning.

dobby2016

Looking for ideas for #ScoutElfReturnWeek — Check these out on the Elf on the Shelf Website.

Stay tuned for.. for more MAGIC!!

This post has been updated. 11/28

My First Thanksgiving Turkey!!

A couple of years ago, I made my first turkey.  I was soo nervous, I was even dreaming about the turkey.  What if it didn’t turn out right, what if it was too dry, etc. etc.? But, it turned out great, and I am a big fan of “IF IT AINT BROKE, DON’T FIX IT”.  So here is the tried and true recipe I found here for a Yummy Juicy Turkey!!

Roasting Tips for a Moist and Tasty Turkey

There are many methods used to cook a moist and tasty Roasted Turkey. Most methods rely on basting. The turkey can be basted every 30 minutes with a basting bulb, or covered with cheesecloth soaked in butter. Other methods include brining the turkey (soaking in a salt water solution for 8-10 hours), or injecting a basting solution into the meat. Whatever method you prefer, proper roasting is key to tender moist meat.

** Personal Note: As my basting sauce, I used one stick of butter, rosemary, cracked black pepper, chicken broth, sage, and thyme.

Completely thaw the turkey.  Start early and thaw the turkey in the refrigerator or in a place where the air temperature is no higher than 40 degrees.  A 20-pound turkey takes about two or three days to thaw completely.  Be sure the turkey is thawed completely, until no ice appears in the inner cavity and the meat is soft.  Be careful:  If the inner cavity is still frozen or even partially frozen when you put the turkey in the oven, the outside of the bird will be done before the inside, and the inside temperature will  not be hot enough to destroy disease causing bacteria, or if it is, the outside meat will be dried out before the center is done.

Remove the neck and giblets from the cavities. If this is your first time cooking the turkey, be sure that both cavities are emptied. Reserve the neck and giblets for use in preparing the giblet gravy, if desired.

Prepare the stuffing. If you are preparing the stuffing early, mix only the dry ingredients. It is recommended that you cook the stuffing separately, but if you do stuff the turkey, do not stuff it until you are ready to roast it. Stuff the cavity loosely. Do not pack it. If you choose to cook the stuffing separately, you can place a quartered onion and some celery leave and other desired herbs in the cavity for flavor.

Prepare a basting sauce. I prefer to baste with melted butter to which I add fresh or dried herbs. You can also baste with a mixture of wine and butter. Baste the turkey with your sauce and place a loose tent of aluminum foil over the turkey to prevent the skin from burning before the turkey is cooked. This tent will be removed during the last 45 minutes or so of cooking. If you are using cheesecloth, soak the cheesecloth with the basting sauce and place over the breast and drape onto the thighs. When using cheesecloth, you do not need the foil tent. Baste the turkey every 30 minutes during roasting.

Roast your turkey at 325 degrees for the recommended time for the weight of your turkey. These times are approximate and should be confirmed with a meat thermometer. Be sure to check the thermometer about 3/4th of the way through the time indicated so as not to overcook. Dry meat will result if the turkey is overcooked. The following table gives approximate times for roasting turkey at 325 degrees F.

Estimated Cooking Times

Wt. of Turkey Unstuffed Stuffed

10-18 lbs 3- 3 1/2 hrs. 4 – 4 1/2 hrs

18-22 lbs 3 1/2 – 4 hrs 4 1/2 – 5 hrs.

22-24 lbs 4- 4 1/2 hrs 5 – 5 1/2 hrs

24-29 lbs 4 1/2- 5 hrs 5 1/2 – 6 1/2 hrs

The turkey must be roasted all at once. You cannot partially cook it ahead for later finishing. This method has been shown to increase the chances of food borne illnesses.

For safety and doneness the internal temperature must reach 180 degrees F in the thigh and 170 in the center of the breast. If the turkey is stuffed, the stuffing should reach 165 degrees F in the cavity. This temperature is essential to prevent food borne disease, and should be measured with a meat thermometer. The pop-up thermometer that comes in many turkeys serves as a good approximate of doneness, but should not be relied on as the ultimate authority. When placing the meat thermometer in the thigh or breast, it is important not to touch the bone. The bone conducts heat and will be hotter than the meat. Do not allow the cooked meat to come into contact with anything that has touched the raw turkey.

During the last 30 – 45 minutes of cooking, remove the foil tent to encourage browning. If you desire to use a glaze, spread it over the turkey now with a pastry brush.
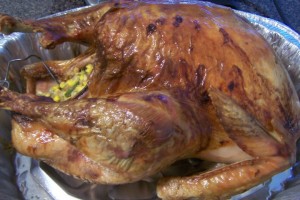
My First Thanksgiving Turkey - A Recipe for a Super Moist Bird

Pulling off your first Holiday Meal, is a right of passage.  It can definitely be stressful, but it can also be very fulfilling.  Good Luck!!