Tips for getting back on track after Winter Break….

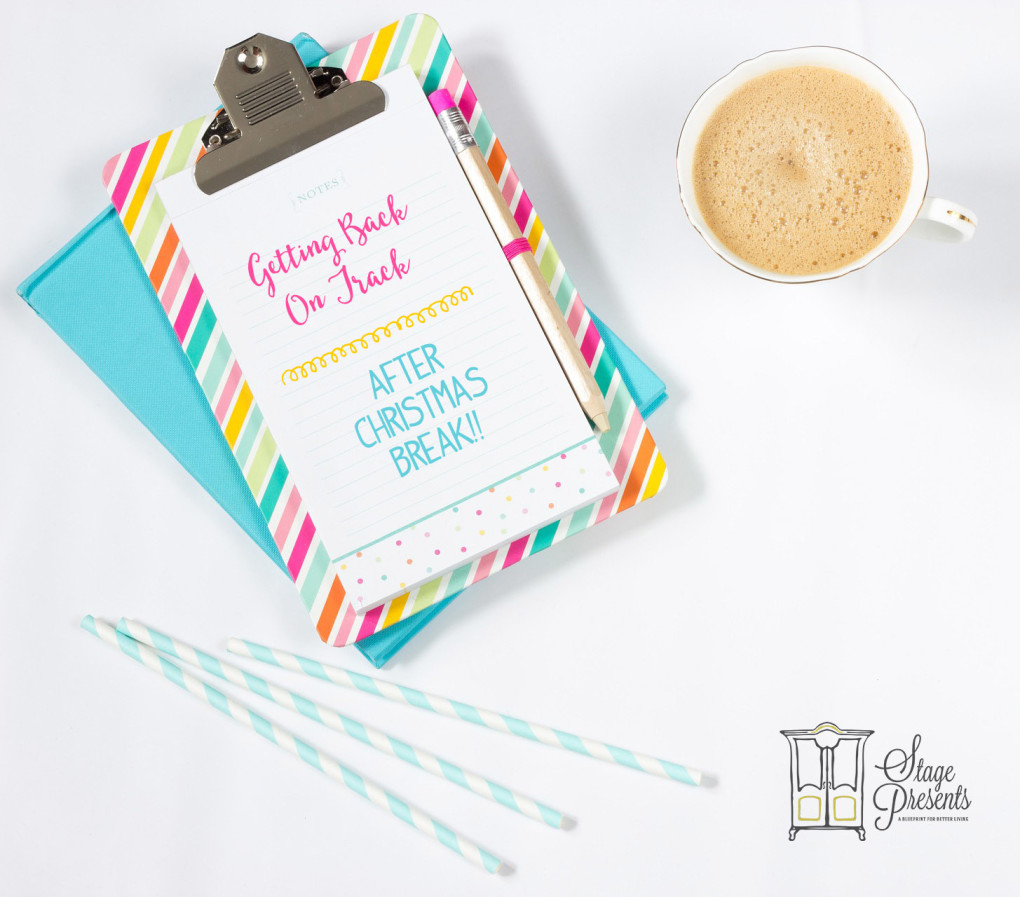
Are you struggling with getting things back on track after the Break?  Here are some quick and easy steps to get your Over The Hump!!

As much as I love Christmas, I for one am elated that Christmas Break is over.  So much so, that I got up this morning and got my little one ready for school.  Got dressed and drove all the way to school, only to realize…  today was a Teacher Work Day and not the kid’s first day back at school.  Thankfully, I caught on before I dropped her off.  So, I laughed it off, but to be honest, when I got back in I sat on the sofa for a good 30 minutes talking myself out of wanting to lay on my back, kick my feet up and have a full blown temper tantrum. Ugh!! As you can see, I am still struggling with things not going as I PLAN.  After deciding that no real purpose would be served by that, I moved on with my day.  *It was like having your Mind and your Mouth set on that last piece of chocolate you have stashed in the refrigerator and when you reach in to get it… you realize that someone got to it first. (Even after you hid it soo expertly.)  This Mommy really was looking forward to some peace and quiet.  I just knew that today was going to be that day.  So, I regrouped, and rescheduled.

Getting Back On Track After Christmas Break - stage-presents.com

  1. Start your day out with purpose.  For me that means reading my Devotion and prayer.  For you, that may be meditation and clearing your head.
  2. Regroup and Evaluate. Where were you before your vacation?  Where do you want to pick up?  Are you just jumping back in or have your priorities changed?
  3. Create a Rolling To Do List.  Over the next 30 days, what are your Goals and Objectives?  Separate the Business from the Personal.  I am a list maker.  So you best believe, I have two separate lists going at all times.  I never realized the beauty of a Rolling To Do List, until I had to plan the days of others, as well as my own. Check out this article CBS published on how they keep you organized and productive.   As much as I hate to say it, whatever you don’t get done today, will get done tomorrow (unless your have a deadline in place).
  4. Create a Weekly List.  Prioritize. Decide What is of the Utmost Importance and start crossing off each item as you go.
  5. Lastly, Work Your Plan and Breathe.  What will be… will be.

Go Confidently in the Direction of Your Dreams.  Live the Life you have imagined – Henry Thoreau

The 2014 “Handmade with Love” Holiday Giveaway

a Rafflecopter giveaway

And, we’re LIVE!!

Details on how to enter: It’s simple.  Perform the actions listed below to be entered into the Giveaway. The more actions you perform, the better your chances are to win.


HolidayGiveaway


Items for the Giveaway were provided by the Official Sponsors of the 2014 “Handmade with Love” Holiday Gift Guide:

  1. Gorilla Fitness Push Up Bars:      GF_logo_V1
  2. Grill Brush – Set of 2 Stainless Steel Wire Brushes – 12″ and 21″: 3
  3. Futurepace Tech Stainless Steel Insulated Water Bottle – BPA Free logos.pdf
  4. Bad Ass Beard Oil Conditioner – Classic Blend – 100% Natural Softener Formula BADASS LOGO
  5. CrossFit Jump Rope – Fast High Quality Cable Rope with Metal Ball Bearings. DS logo with barbell on both sides in color copy (1)
  6. Flip Flops for Kids by Mottos features Custom Charms on the Sandal Straps mottos-jpg FINAL LOGO
  7. Wizard of Oz Graphic Reproduction Poster – 11×17 STAGE PRESENTS LOGO

For more information on these vendors and their products follow the Clickable Logos shown here:

Update – 2014 “Handmade with Love” – Holiday Gift Guide

Holiday Gift Guide 2014

Hey Guys,

I am so happy with the response that we have received for the “Handmade with Love” Holiday Gift Guide.  You all have submitted so many amazing products, that frankly it’s hard to choose. :-).

So, I just wanted to jump on and give you an update.  As of right now, the following Categories are CLOSED.

For Her

For Infant/Toddler

For Home

I have received soo many jewelry submissions, that I am considering making a category just for that.  I will keep you posted.

I am still looking for items for the following Categories:

For Him

For Couples

For Pets

For Foodies

For Fitness Buffs

I think I have responded to everyone who has sent out a submission, at this time.   If I have somehow missed you please reach out to me again, via shereethomas@stage-presents.com.

Untitled-1


Only 9 Days Left Until Halloween…

9-days-until-halloween-wickedmanors


Are you Ready?  It’s true, there are really only 9 days left!!

Let’s Run Through Our Quick Check List.

  • If your kids are going Trick or Treating, I hope that you already have their costumes, in hand.  You couldn’t pay me, to be in Party City(or any other costume store), this time of year. Honestly, it’s like Black Friday for the Goblins.  EEK!!  Have you thought the whole Costume through?  I can’t tell you how many years, Halloween morning came and I realized I still needed coordinating shoes, stockings, undershirts, blah blah, blah.  I mean, let’s face it, no princess was ever fierce in NIKE’s.  Also, make sure to factor in the cold, the rain, and potential runny noses(cold/flu season). NO matter how warm the day starts out, it always seem to be brisk on Halloween night, even in Georgia.
  • You’ve Completed your Outdoor Fall Decor and Decided whether or not you want it to be Inviting or Scare the Little Ones Away.
  • You’ve got Candy, or if you are “that Mom”, raisins and fruit cups. With Food Allergies becoming more and more rampant, consider that when purchasing your treats.  Trust me, No Mommy wants to end their Halloween on the other end of an Epi-Pen.
  • Which brings me to my next point, it may seem EXTRA, but check your child’s candy. Unfortunately, we live in times, where we have no choice but to be VIGILANT!!
  • Finally, plan ahead.  Go over Safety Rules and Have Fun!!  Take lots of pictures, make lots of memories and Enjoy your Little Ones, believe it a lot these moments can be fleeting.

If you are still considering planning a Halloween Party of Fall Festival Check Out our Custom Invitations over on our Etsy Page!

halloweenmockup

Free Father’s Day Downloadable Printable (PDF File)

With Father’s Day only Thirteen Days Away, we thought we would share with you this great Father’s Day Printable that we created for our Facebook and Instagram Fans!!

To Download: Simply Click the Link Following the Picture and Enjoy!!

BESTDADEVER_RGB

DOWNLOAD HERE

My First Thanksgiving Turkey!!

A couple of years ago, I made my first turkey.  I was soo nervous, I was even dreaming about the turkey.  What if it didn’t turn out right, what if it was too dry, etc. etc.? But, it turned out great, and I am a big fan of “IF IT AINT BROKE, DON’T FIX IT”.  So here is the tried and true recipe I found here for a Yummy Juicy Turkey!!

Roasting Tips for a Moist and Tasty Turkey

There are many methods used to cook a moist and tasty Roasted Turkey. Most methods rely on basting. The turkey can be basted every 30 minutes with a basting bulb, or covered with cheesecloth soaked in butter. Other methods include brining the turkey (soaking in a salt water solution for 8-10 hours), or injecting a basting solution into the meat. Whatever method you prefer, proper roasting is key to tender moist meat.

** Personal Note: As my basting sauce, I used one stick of butter, rosemary, cracked black pepper, chicken broth, sage, and thyme.

Completely thaw the turkey.  Start early and thaw the turkey in the refrigerator or in a place where the air temperature is no higher than 40 degrees.  A 20-pound turkey takes about two or three days to thaw completely.  Be sure the turkey is thawed completely, until no ice appears in the inner cavity and the meat is soft.  Be careful:  If the inner cavity is still frozen or even partially frozen when you put the turkey in the oven, the outside of the bird will be done before the inside, and the inside temperature will  not be hot enough to destroy disease causing bacteria, or if it is, the outside meat will be dried out before the center is done.

Remove the neck and giblets from the cavities. If this is your first time cooking the turkey, be sure that both cavities are emptied. Reserve the neck and giblets for use in preparing the giblet gravy, if desired.

Prepare the stuffing. If you are preparing the stuffing early, mix only the dry ingredients. It is recommended that you cook the stuffing separately, but if you do stuff the turkey, do not stuff it until you are ready to roast it. Stuff the cavity loosely. Do not pack it. If you choose to cook the stuffing separately, you can place a quartered onion and some celery leave and other desired herbs in the cavity for flavor.

Prepare a basting sauce. I prefer to baste with melted butter to which I add fresh or dried herbs. You can also baste with a mixture of wine and butter. Baste the turkey with your sauce and place a loose tent of aluminum foil over the turkey to prevent the skin from burning before the turkey is cooked. This tent will be removed during the last 45 minutes or so of cooking. If you are using cheesecloth, soak the cheesecloth with the basting sauce and place over the breast and drape onto the thighs. When using cheesecloth, you do not need the foil tent. Baste the turkey every 30 minutes during roasting.

Roast your turkey at 325 degrees for the recommended time for the weight of your turkey. These times are approximate and should be confirmed with a meat thermometer. Be sure to check the thermometer about 3/4th of the way through the time indicated so as not to overcook. Dry meat will result if the turkey is overcooked. The following table gives approximate times for roasting turkey at 325 degrees F.

Estimated Cooking Times

Wt. of Turkey Unstuffed Stuffed

10-18 lbs 3- 3 1/2 hrs. 4 – 4 1/2 hrs

18-22 lbs 3 1/2 – 4 hrs 4 1/2 – 5 hrs.

22-24 lbs 4- 4 1/2 hrs 5 – 5 1/2 hrs

24-29 lbs 4 1/2- 5 hrs 5 1/2 – 6 1/2 hrs

The turkey must be roasted all at once. You cannot partially cook it ahead for later finishing. This method has been shown to increase the chances of food borne illnesses.

For safety and doneness the internal temperature must reach 180 degrees F in the thigh and 170 in the center of the breast. If the turkey is stuffed, the stuffing should reach 165 degrees F in the cavity. This temperature is essential to prevent food borne disease, and should be measured with a meat thermometer. The pop-up thermometer that comes in many turkeys serves as a good approximate of doneness, but should not be relied on as the ultimate authority. When placing the meat thermometer in the thigh or breast, it is important not to touch the bone. The bone conducts heat and will be hotter than the meat. Do not allow the cooked meat to come into contact with anything that has touched the raw turkey.

During the last 30 – 45 minutes of cooking, remove the foil tent to encourage browning. If you desire to use a glaze, spread it over the turkey now with a pastry brush.

My First Thanksgiving Turkey - A Recipe for a Super Moist Bird

Pulling off your first Holiday Meal, is a right of passage.  It can definitely be stressful, but it can also be very fulfilling.  Good Luck!!