Our 2013 Christmas Home Tour

I got this idea of a Home Tour from seeing so many other amazing Holiday Spaces featured across several blogs.  And, let’s face it, a picture is worth a thousand words.

Our 2013 Christmas Home Tour

For as long as I can remember, Christmas has been my favorite holiday.  Being surrounded by family, the sights and smells, they have all played a part in memories that I hold dear to my heart.

It’s one of the reasons why I literally throw myself every year into “Decking The Halls”,  for my family, the way my mom did for my sister and I.  And the way her Mom did for her.

This is our second year having two trees.  The Family Room/Foyer Tree has all the ornaments that the kids have made through the years, our keepsake ornaments, and the traditional Christmas Colors.  It is the first thing you see when you walk through the front door of our home.

Our 2013 Christmas Home Tour - The Front Foyer and Hallway

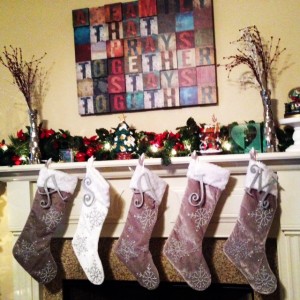
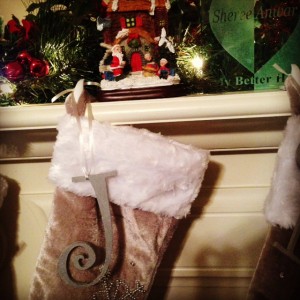
This hallway takes you into our Family Room, where we decorated our fireplace/mantel with our Luxe Stockings and DIY Scripted Glitter Letters.

Our 2013 Christmas Home Tour - The Mantel

Our Formal Living Room and Dining Room flow into each other and house our 8 ft.  Douglas Fir.  This year we went with the accent color of purple and I had a ball “marrying” the two rooms.

Our 2013 Christmas Home Tour- Teal Purple and Silver Color Scheme

Needless to say, at this time of year, I am in my element.

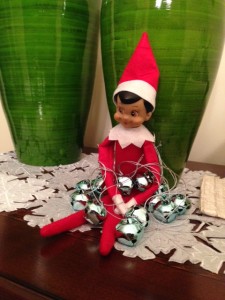
Our 2013 Christmas Home Tour - Dobbie Our Christmas Elf Sighting

So from Our Stage Presents Family to yours, Have a Happy and Safe Holiday Season!!  I hope you enjoyed our home, as much as we enjoyed sharing it!!

DIY Scripted Glitter Letters

Looking for an Alternative to Monogrammed Stockings? Last year we bought some Luxe Stockings, which I am still very much in love with.  We wanted to personalize them, but without actually having to alter the stockings.  So we settled on Scripted Glitter Letters instead.

DIY Scripted Glitter Letters

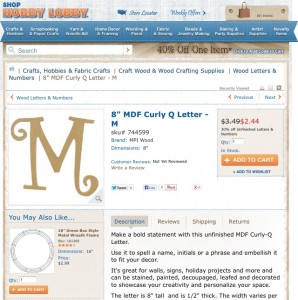
This was very simple to do.  I purchased the Scripted Wooden Letters, from Hobby Lobby (my favorite store according to my 4 year old).

photo

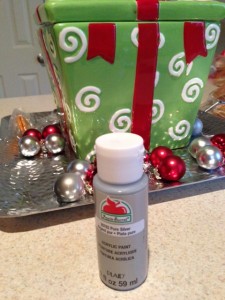
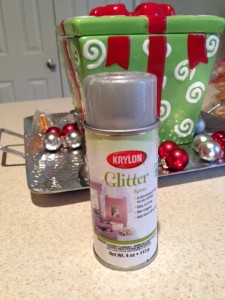
I guess you could sand the letters if you wanted to, but we opted for a more rustic look, so  just went ahead and painted them.  Once the paint dried then we applied the glitter spray.  Both items pictured below:

image (8)

image (9)

And, there you have it the completed project!!

image (7)

According to my dh, my projects always turn into his, so I should add that.. we did throw in some”Hubby Elbow Grease”!!  To see more of how we decorated our home for the Holidays check out Our 2013 and 2014 Christmas Home Tours.

Making the Scariest Day of the Year – Not Scary!!

Making the Scariest Day of the Year - Not Scary!!

I was blessed with the scariest kids ever,(in other words they are afraid if their own shadows).  Especially my oldest daughter, two years ago we took them both Trick or Treating.  She was just 7 at the time.  She absolutely hated the scary costumes and we had to eventually go home.

Last year she wanted nothing it do with Halloween so we skipped it and just handed out Candy.  My youngest was 2 at the time and literally still had no fear.

Fast forward to this year and the arrival of witches as Halloween decor in our local Kroger. There was a precocious little boy who thought it would be funny to hit said witch and send her flying into the air.  My little one was fit to be tied. I couldn’t get her out of that store fast enough and haven’t been able to get her to go back since.

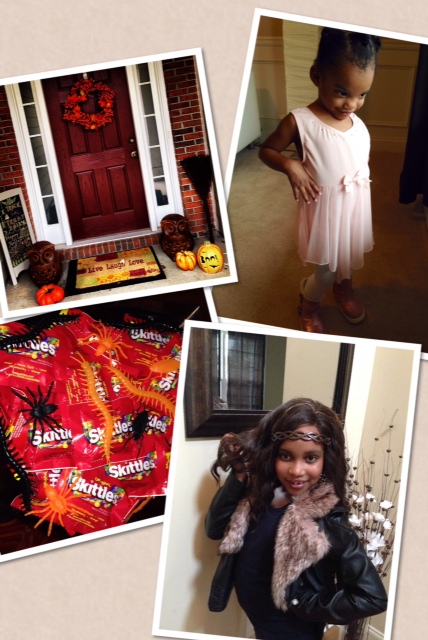
I admit, last year I was glad to not have to deal with it.  But this year feeling particularly festive, I was bummed that the girls weren’t interested.  So I decided to get them excited about dressing up and thought they could at least hand out the Candy!!  I got them excited and all dolled up.  But, when the bell rang for the first time my oldest bolted up the stairs. She observed the rest if the night from her view on the Second Story Landing .  I was able to engage the little one and she helped hand out Candy unless she saw a scary costume.

We ordered pizza for dinner and tried to make the night fun.  But, I think the best part for them was the dressing up and the pictures.  I hope we still made some great memories, and look forward to them getting older and having a better grasp on all that is Halloween!!

post

Trick or Treat — Working our Way Down the Fall Craft Bucket List!!

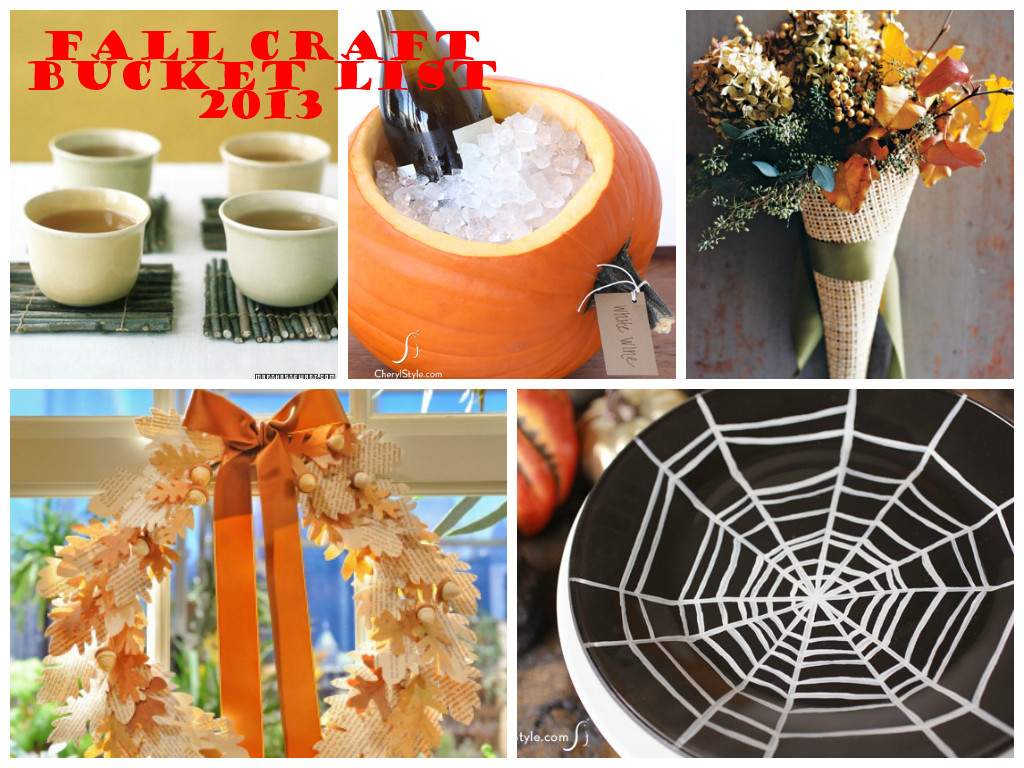
Fall Craft BucketAbove – Remember our Fall Bucket List!!

Below – Here are the Items we Actually Ended up Making — Of Course, Fall Is Not Over Yet!!

image_1 (3)

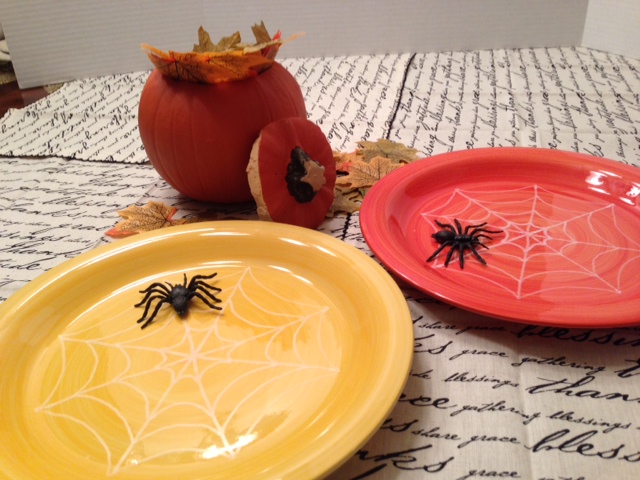
The Spider Web Plate was very easy.  I found these festive colored ceramic plates at Publix.  We Used White Painters® Paint Markers to recreate the Spider Web on the Plate, and waited for it to dry then added 3D Spiders to complete the look.

I like most folks this year, got caught up in the Fun-Kin Hype, and bought a Fun-Kin Carvable Pumpkin (top right of the above picture).  It seemed like it would be so much easier to carve than a real pumpkin.  But, I wasn’t impressed.  I did notice that they have Fun-Kin Knives and maybe it would have been easier, if I had used one of those.  But, I didn’t buy one.  So instead, we used a Regular Carving Knife.  I intended to use it as a candy or candle holder.  But, didn’t love either look, so I decided to just use it as part of our Decorations.

Last, but not least, was our Halloween Welcome Chalkboard.  I truly had fun creating this, even if I am no Picasso.  I think it is the perfect finishing touch to our Fall/Halloween Decor.

image (1)


image (2)

Happy Halloween from your Stage Presents Family!!

It’s beginning to “Teal”, a lot like Christmas!!

I have absolutely fallen in love with teal this year.  Check out some great inspiration pieces, I found on Pinterest..

In fact, I got my color scheme for one of my Christmas trees (still a work in progress), from these pics.

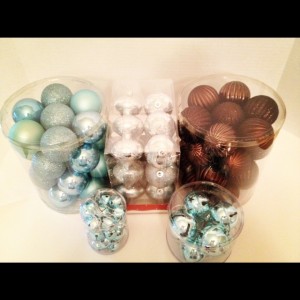
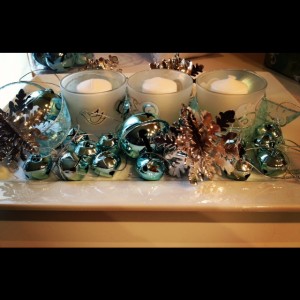
Here are the ornaments that I purchased for the tree, and my Table Centerpiece for Formal Dining Room.

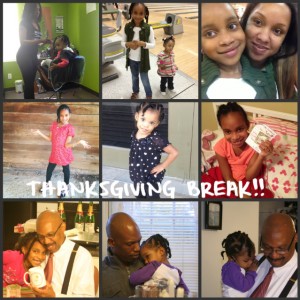
A Glimpse into Thanksgiving Break!!

“And if someday you’re lonely,
or someday you’re sad,
or you strike out at baseball,
or think you’ve been bad…

just lift up your face, feel the wind in your hair.
That’s me, my sweet baby, my love is right there.

In the green of the grass… in the smell of
the sea… in the clouds floating by…
at the top of a tree… in the sound
crickets make at the end of the day…

“You are loved. You are loved. You are
loved,” they all say.

Wherever you are my Love will Find You – Nancy Tillman

This is one of my favorite books and I bought it for the girl’s for Christmas last year.

Time honestly flies by way too quickly!!

Another Great After Thanksgiving Recipe – Turkey Dumpling Stew

Turkey Dumpling Stew

Another After Thanksgiving Recipe - Turkey Dumpling Stew

Photo Source: Food Network Magazine

Recipe courtesy of Food Network Magazine

Prep Time:
50 min
Inactive Prep Time:
Cook Time:
4 hr 0 min
Level:
Intermediate
Serves:
6-8 servings
 Ingredients
  • 1 leftover roasted turkey carcass, plus 3 to 4 cups shredded turkey meat
  • 1 onion, quartered
  • 2 stalks celery, quartered crosswise (save the leaves for the dumplings)
  • 1 pound carrots (3 quartered crosswise; the rest thinly sliced)
  • 1 bay leaf
  • 3 sprigs parsley
  • 3 sprigs thyme
  • Dumpling dough (recipe linked below)
  • 4 tablespoons unsalted butter
  • 4 shallots, minced
  • 1/4 cup all-purpose flour
  • Kosher salt and freshly ground pepper
  • 1 pound parsnips, peeled and thinly sliced Juice of 1/2 lemon
  • 1 pound green beans, trimmed and cut into 1-inch pieces
  • Chopped fresh chives, for topping

Directions

Make the stock: Pull the turkey carcass apart into smaller pieces; set the meat aside. Put the bones in a large, deep pot and add cold water to cover, 4 to 5 quarts. Add the onion, celery, the 3 quartered carrots and the bay leaf. Tie the parsley and thyme together with twine and add to the pot, then cover and bring to a simmer over medium heat. Uncover, reduce the heat to medium low and cook 3 to 4 hours. Remove the bones and vegetables with a skimmer and discard, then strain the stock though a fine-mesh strainer. Return the stock to the pot and simmer over medium-high heat until reduced by half, 30 to 40 minutes (you’ll have about 8 cups stock).

About 45 minutes before serving, prepare the dumplings . Keep covered with plastic wrap while you make the stew.

Make the stew: Melt the butter in a large, wide pot over medium heat. Add the shallots and cook until soft, about 3 minutes. Add the flour and cook, stirring, 30 seconds. Gradually add the stock, stirring, and bring to a simmer. Season with salt and pepper. Add the sliced carrots and parsnips, cover and cook 5 minutes.

Stir in the turkey meat, lemon juice and green beans. Add the dumplings in a single layer (leave as squares or pat into rounds). Cover and simmer until the dumplings are cooked through, about 20 minutes. Ladle into bowls; top with chives.

Photograph by Con Poulos

Is Christmas Magic as Important to you as it is to your Kids?

I have always felt strongly about preserving the innocence of children, for as long as possible. Through their eyes, I have remembered what it is like to be a kid and have even been able to relive some of my own childhood memories.  So, I try to pack as much magic into my children’s lives as I can.  They have so many years ahead of them to deal with the harsh realities of life. I try to hold on to that little bit of Magic, for as long as I can.   If you agree with me, this post is for you, follow the links below and start creating amazing Christmas Memories!!

Christmas Magic

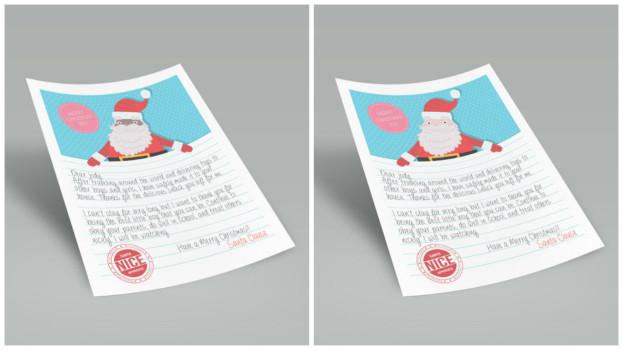
Do You Want your Child to Receive A Letter from Santa – Click Here!!

Photo Source: USPS

Photo Source: USPS

Countdown the Day’s Until Santa’s Arrival with this Free Printable

Link and Photo Source courtesy of invitingprintables.blogspot.com

Head Over to Our Stage Present’s Etsy Shop for a Personal Lesson from Santa.

Personalized Letters from Santa found in Etsy Shop stagedpresents

Personalized Letters from Santa found in Etsy Shop stagedpresents

Free Downloadable Christmas Gift Tags at Design Editor

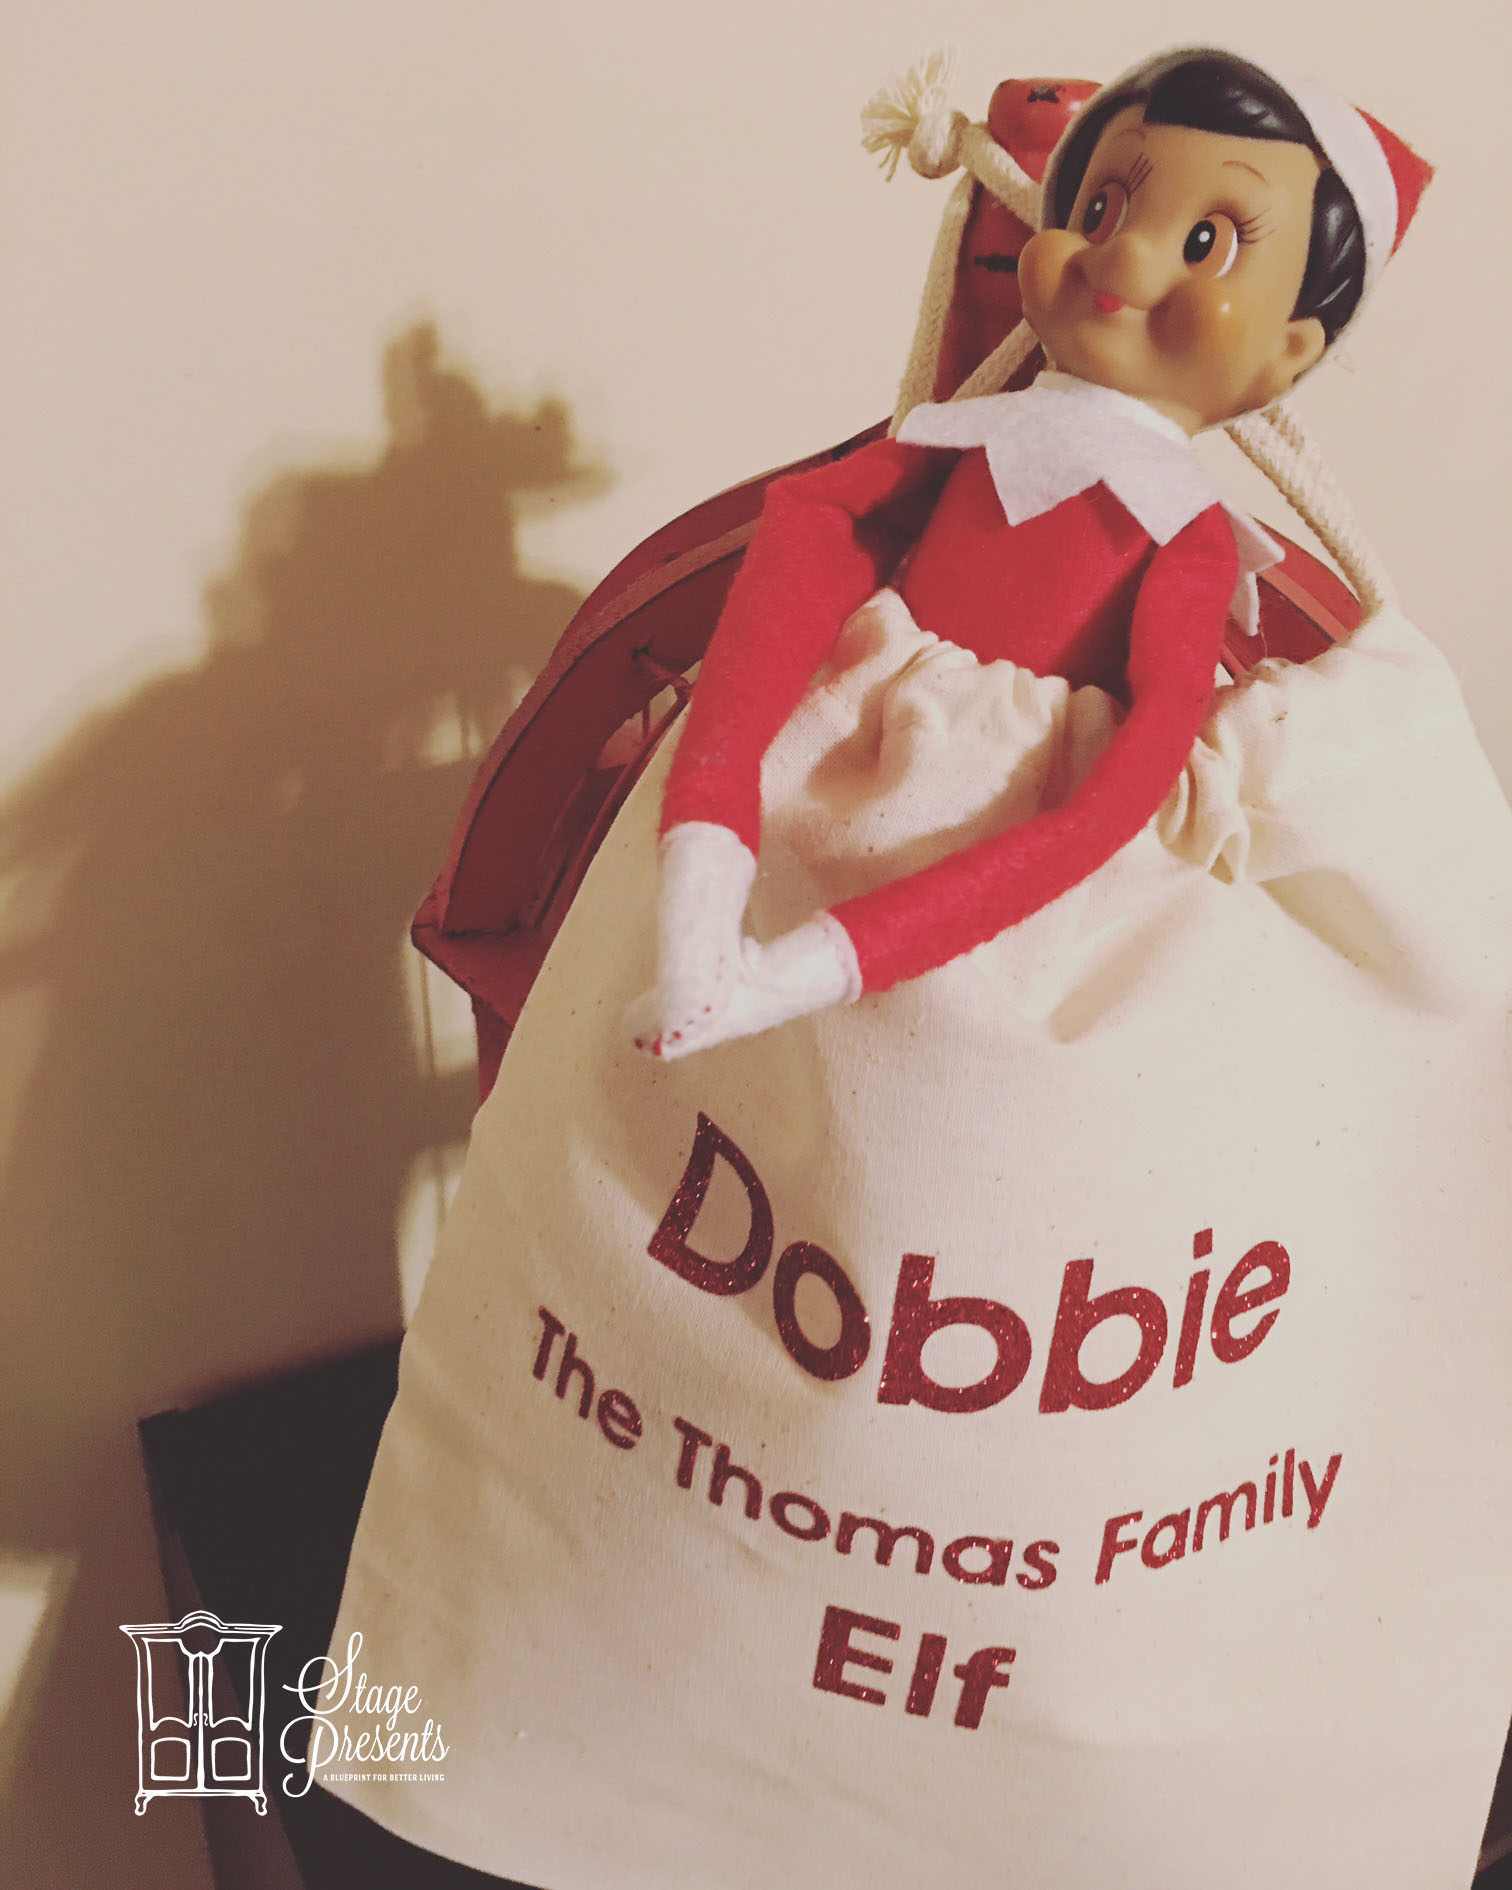
Getting ready for Elf Return Week.   Our Family Christmas Elf, made his debut on Saturday Morning.

dobby2016

Looking for ideas for #ScoutElfReturnWeek — Check these out on the Elf on the Shelf Website.

Stay tuned for.. for more MAGIC!!

This post has been updated. 11/28

After Thanksgiving Recipes: Open Faced Sandwiches

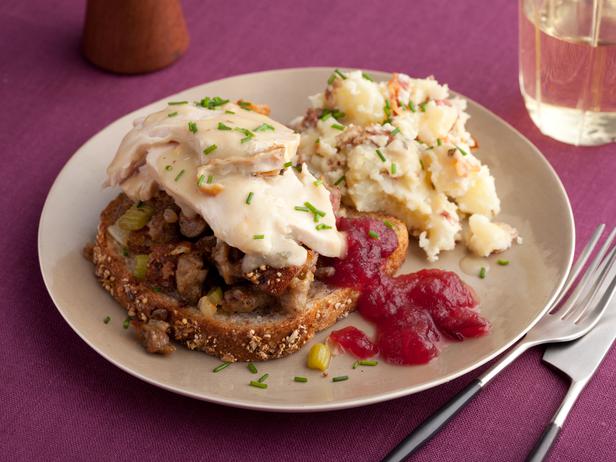
What a Face! Open Faced Hot Turkey Sammys with Sausage Stuffing and Gravy, Smashed Potatoes with Bacon, Warm Apple Cranberry Sauce

Open Faced Hot Turkey Sammys with Sausage Stuffing and Gravy, Smashed Potatoes with Bacon, Warm Apple Cranberry Sauce

Recipe And Photos courtesy of Rachael Ray

Prep Time:
20 min
Inactive Prep Time:
hr min
Cook Time:
25 min

Level:
Intermediate
Serves:
4 servings

Ingredients

Smashed Potatoes:
2 pounds new potatoes or baby Yukon gold potatoes
1/2 cup sour cream
2 tablespoons butter
3 strips par cooked bacon, crisped in microwave and chopped (recommended: Ready
Crisp)
Salt and pepper
Warm Apple Cranberry Sauce:
1 cup store bought apple sauce
1 (14 ounce) can whole berry cranberry sauce
Stuffing:
2 slices whole grain bread

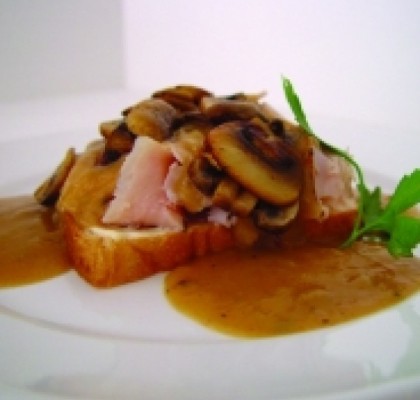
Open Faced Roast Turkey Sandwiches with Mushroom Gravy

Open Faced Roast Turkey Sandwiches with Mushroom Gravy Recipe and Photo Courtesy of Emeril Lagasse 2007

Recipe courtesy Emeril Lagasse, 2007

Prep Time:
8 min
Inactive Prep Time:
hr min
Cook Time:
15 min
Level:
Easy
Serves:
4 sandwiches

Ingredients

4 tablespoons unsalted butter
8 ounces fresh white button mushrooms, wiped clean, stemmed, and thinly sliced
1 teaspoon chopped fresh thyme leaves
3/4 teaspoon salt
1/4 teaspoon freshly ground black pepper
3 tablespoons all-purpose flour
1/4 cup finely chopped yellow onion
1 tablespoon finely chopped celery
2 cups reduced-sodium chicken broth
1 teaspoon Essence, recipe follows
2 tablespoons mayonnaise
10 to 12 ounces thinly sliced roast turkey breast
4 slices home-style white bread, toasted, optional

For More After Thanksgiving Meal Ideas follow this link.